You can always send us your messages, comments or suggestions.
In one click, store and find all your favourite recipes.
Add this recipe >Before starting this Celebration Cake recipe, organise the necessary ingredients for the hazelnut streusel crumble.
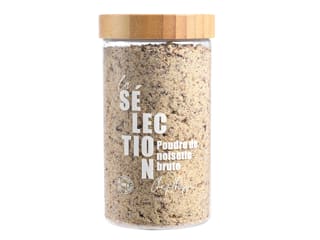
For the hazelnut streusel crumble: Place the ground hazelnuts in the stand mixer bowl.
Add the flour...
... the soft brown sugar...
... the softened butter...
... and combine using the flat beater.
You should obtain a crumble consistency within a few minutes. Mix until you get a crumble with big chunks.
Pour the crumble on your kitchen workbench...
... and finish mixing with your hands until homogeneous.
Flatten the crumble with your hand on a sheet of greaseproof paper...
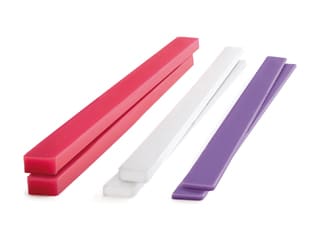
... and cover with another sheet of greaseproof paper. Place rolling pin guides on each side of the paper and start rolling out to a thickness of 3mm.
Spread with a rolling pin...
... until regular. Roll out in every direction to give the crumble a round shape.
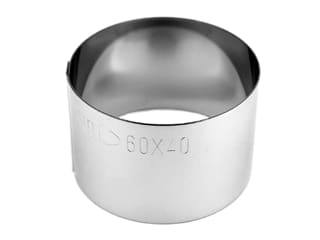
Take a stainless steel mousse ring...
... and cut the streusel crumble into a disc.
Take a stainless steel mousse ring...
... and cut a smaller disc in the centre of the large disc. I recommend using a graduated ruler to make sure the central disc is centred.
Press on the stainless steel ring to cut the small disc...
... as shown in the photo. Place in the freezer for about 10 minutes.
Line a Silichef® perforated baking sheet with a sheet of greaseproof paper.
Take the streusel crumble out of the freezer and flip it over the baking sheet. Gently detach the baking parchment on top.
Use the tip of a knife to remove the crumble excess and the central hole.
Place the mousse ring around the crumble base...
... and the smaller mousse ring in the centre, as shown in the photo. This will allow the biscuit to maintain its shape while baking.
Bake in a fan-assisted oven preheated to 160°C (gas 3) for about 10 to 15 minutes.
For the honey and tonka biscuit: Organise the necessary ingredients.
Crack the whole eggs into a processor recipient.
Add the castor sugar and honey. Place the honey in the microwave for a few seconds until liquid.
Mix the ingredients together.
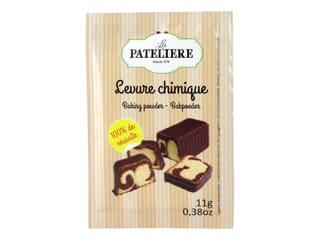
Add the flour and baking powder...
... and the melted butter (cooled down beforehand).
Mix again for about one minute.
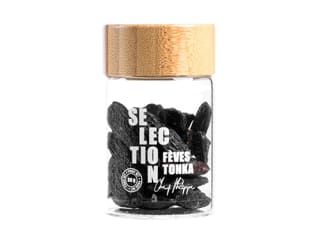
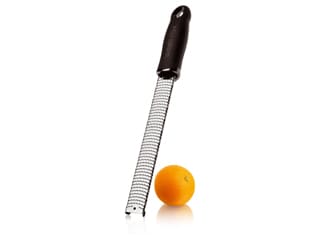
Grate the tonka bean with a Microplane Classic grater)...
... over the preparation in the food processor. Tonka beans have a powerful flavour so you won't need much at all.
Mix the ingredients until homogeneous.
When the streusel crumble is cooked, remove from the oven...
... and place on your kitchen worktop. Leave the rings around the biscuit.
Pour the honey and tonka preparation over the streusel crumble to a thickness of 1cm...
... and bake in a fan-assisted oven preheated to 160°C (gas 3) for about 15 to 20 minutes.
When cooked, remove from the oven (the surface of the biscuit should be golden).
Leave to cool on your workbench at room temperature.
For the mango and cherry confit: Organise all the necessary ingredients.
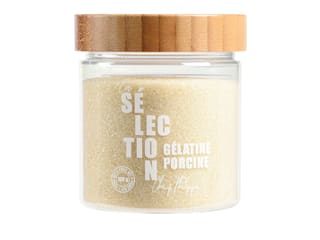
Pour 18 grams of water over the gelatine powder...
... and combine with a spoon. Set aside for at least 15 minutes.
Pour the mango purée and 3/4 of the castor sugar in a saucepan. Place on the stove.
Combine the rest of the sugar with the pectin NH (this will avoid lumps).
Stretch a sheet of cling film over one side of the mousse ring to create a flat base.
Place the mousse ring on a baking sheet lined with greaseproof paper (side with cling film facing down).
When the mango purée starts boiling...
... add the frozen cherries...
... and bring to a boil.
When the preparation starts boiling again, add the pectin and sugar mix while whisking.
Maintain the boil for about one minute, whisking constantly, to activate the pectin.
Add the rehydrated gelatine...
... and whisk vigorously.
Pour the mango and cherry confit in the mousse ring. Store in the freezer.
Carefully remove the rings from the biscuit when it has cooled down. Slide a knife between the biscuit and the stainless steel rings.
This is what the result should look like at this stage. Set aside.
For the strawberry and cherry confit: Organise all the necessary ingredients.
Pour the glucose syrup and invert sugar into a saucepan...
... and add the strawberry purée. Place over medium heat.
Add the cherry purée (I used a frozen cherry purée but this is not essential).
In a separate recipient, combine the castor sugar and the pectin NH coating.
When the preparation starts boiling...
... add the pectin and sugar mix while whisking to avoid lumps. Maintain a boil for one minute to activate the pectin.
Pour the strawberry and cherry confit in the mousse ring, over the frozen mango confit. Make sure the mango confit is frozen before pouring the hot strawberry confit on top.
The result should be as shown in the photo. Store in the freezer. This preparation can be made in advance in two stages.
For the light cardamom cream:Organise all the necessary ingredients.
Hydrate the gelatine with 34 grams of water...
... and combine together. Set aside for at least 15 minutes.
Place the cardamom pods in a small mortar. Make sure you're using a scale to measure the cardamom accurately, otherwise it will be too dominant in the preparation.
Grind the cardamom pods with the pestle until they are all crushed.
Pour 90 grams of whipping cream and the cardamom pods in a saucepan. Bring to a boil...
... then take the pan away from the heat. Stretch a sheet of cling film over the saucepan...
... and leave to infuse for 5 minutes.
In the meantime, place the egg yolks and castor sugar in a mixing bowl...
... and blanch with a whisk.
When the cardamom has infused, return the saucepan on the hob and bring to a boil.
Pour the cream over the blanched egg yolks and combine with a whisk.
Transfer the preparation into the saucepan used to boil the cream...
... and cook 'à la nappe' (i.e. until the consistency is thick enough to coat the back of a spoon).
Cook the preparation over low heat until the temperature reaches 82°C maximum (otherwise the eggs will start to coagulate). I recommend using a laser thermometer.
When the cream is cooked, take the pan away from the heat and add the hydrated gelatine. Combine vigorously.
Pour the cream into a fine sieve to discard the cardamom pod pieces.
Spread the cream to a thin layer so it cools down faster. Leave to cool at room temperature (do not refrigerate).
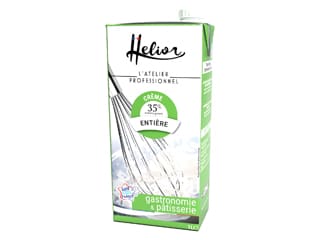
Beat the whipping cream until you obtain a whipped cream, using an electric whisk. I recommend using a whipping cream with a minimum of 35% fat.
When the cream has cooled down to about 30°C, transfer into a bowl.
Pour 1/3 of the whipped cream into a bowl...
... and combine with a whisk.
Add the rest of the whipped cream...
... and fold gently with a rubber spatula.
Transfer the cardamom cream into a piping bag. The use of a nozzle is not necessary.
Place the base of the Corolla silicone mould kit on a baking sheet. This will allow you to handle the mould easily.
Fill the bottom of the mould with the cardamom cream.
With a small cranked spatula, create a volcano shape so that the cream goes all the way up the rim. This will get rid of any air bubbles.
Pipe another lace of the cardamom cream.
Take the confit out of the freezer. Remove the cling film...
... and the mousse ring. Reheat the ring with your hands a little beforehand.
Reheat the small mousse ring (Ø 6cm) with your hands then cut a hole in the centre of the frozen insert...
... pressing down on the ring. Make sure not to overheat the stainless steel ring.
The result should be as shown in the photo.
The insert should have a thickness of about 1cm, with the layers clearly visible.
Place the frozen insert inside the mould, over the cardamom cream (with the dark layer facing down). Bury slightly in the cream.
Cover the insert with laces of cardamom cream.
Place the biscuit inside the mould, with the honey and tonka side in contact with the cardamom cream.
Bury the biscuit with your fingers so it gets right to the rim of the mould.
Scrape the excess cream off with the small cranked spatula.
Cover the surface of the mould with cling film...
... and place in the freezer. Up to this stage, the cake can be prepared several days in advance and stored in the freezer.
For the morello cherry Chantilly cream: Organise all the necessary ingredients.
Hydrate the gelatine with 20 grams of water...
... and combine together. Set aside for at least 15 minutes.
Melt the cherry purée in a saucepan (if you're using a frozen purée). If you're using a fresh purée, heat into a saucepan.
Add the castor sugar...
... and bring to a boil. Add the hydrated gelatine and combine carefully.
Pour the preparation to a thin layer in a food tray and leave to cool at room temperature (do not refrigerate).
Beat the whipping cream until you obtain a whipped cream, using an electric whisk.
When the cherry purée is between 30 and 32°C...
... pour it into a separate bowl.
Add the whipped cream and incorporate gently with a maryse spatula until smooth and homogeneous.
Transfer the cherry Chantilly cream into a piping bag. The use of a nozzle is not necessary.
Place the top part of the mould on a baking sheet.
Pipe the cherry Chantilly cream inside the mould...
... and create a volcano shape with the small cranked spatula to fill all the cavities. This will get rid of air bubbles.
Fill the mould with the rest of Chantilly cream and even the surface with a large cranked spatula.
Cover with cling film and store in the freezer. Up to this stage, this recipe can be made several days in advance.
For the glossy pink icing (make the day before): Prepare all the necessary ingredients.
Hydrate the gelatine with 72 grams of water.
Pour the glucose syrup and water into a saucepan.
Add the castor sugar...
... and bring to a boil, then cook for a few more seconds until the temperature reaches 103°C.
In the meantime, pour the condensed milk and hydrated gelatine into a pouring jug.
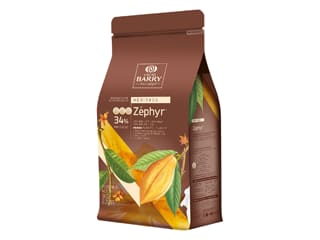
Add the white chocolate pistoles...
... and pour the boiling syrup inside the jug.
Mix with a Bamix hand blender until the icing is perfectly smooth.
Add the colour powder. Start with the pink colouring powder.
Mix with a hand blender to activate the colour pigments.
To get a pink colour with a purplish shade, add a very small amount of blue colour with the tip of a knife. Start with a small amount of colouring, then add more if necessary until you get the desired colour. Mix again.
Add red colouring powder and mix again until homogeneous. The red colour will enhance the shade intensity. Needless to say, you can use any colour of your choice according to the desired shade you would like.
Cover the surface of the icing with cling film...
... and refrigerate overnight.
The next day, take the icing out of the fridge and remove the cling film.
Reheat the icing in the microwave at maximum power for about 30 seconds, then mix with the hand blender. Melt in the microwave for a further 15 or 20 seconds until the icing has the right consistency and the temperature reaches 35°C maximum. Mix until smooth and homogeneous and no air bubbles remain.
Take the cake out of the freezer. It should be completely thoroughly frozen through. Remove the cling film...
... and flip the cake onto a cooling rack placed on a deep tray. Detach the silicone mould immediately.
Pour the pink icing over the whole surface of the cake.
Gently tap the rack on your worktop to let the excess icing drip off.
Carefully lift the cake with two cranked spatulas and rotate the cake on the rack to get rid of any drops of icing.
When the icing has set, transfer the cake onto a serving plate.
Take the top part of the mould out of the freezer.
Remove the cling film then flip the cake top over a cold baking sheet. Detach the silicone mould immediately.
Spray the velvet coating over the surface of the cake top, from a distance of 20 or 30 cm.
Make sure the whole surface is coated with the velvet icing.
Carefully lift the cake top with two cranked spatulas and arrange it over the pink entremets. It should be perfectly centred.
The result should be as shown in the photo. Leave to defrost slowly in the fridge.
For the decorations: Roll out the pink sugar paste on a floured surface (using corn starch or potato starch). Spread to a thin thickness.
Using daisy plunger cutters, cut the pink sugar paste into small daisies and place them in the cavities of a sphere silicone mould to give them a curved shape. I recommend preparing these flower decorations in advance to leave them enough time to dry.
Pour some leftover pink icing into a decorating cone and pipe small drops over the surface of the cake.
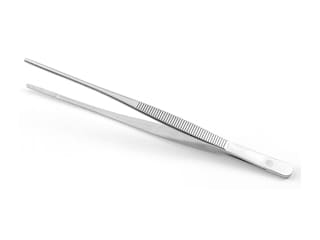
Using decorating tweezers, arrange the sugar paste flowers over the drops of icing, which will serve as a glue.
Finish the decoration by arranging a few white chocolate crispy pearls over the surface of the cake. I coated with white chocolate pearls with bronze iridescent colouring powder beforehand. This gorgeous celebration cake is now ready. Leave to defrost in the fridge for at least 4 hours before serving. Enjoy this delicious dessert!
Please login to post a review