


Cookies 🍪
By clicking "Accept", you authorize Meilleur du Chef to store cookies on your device to personalize site content, analyze our traffic, and provide social media functionality.
Favourites


In one click, store and find all your favourite recipes.
Add this recipe >
To make this fruit popsicles recipe, start by preparing the ingredients for the sorbets.

Sorbets: Pour the raspberry sorbet preparation into the ice cream churner. Be careful not to overfill it—refer to the markings inside the bowl.

Close the machine with the lid and start it.

After 45 to 50 minutes, the sorbet will be ready.

Transfer the raspberry sorbet into a food-safe container, making sure to scrape the paddle clean. Place in the freezer.

Pour the exotic fruit sorbet preparation into the bowl of the ice cream maker.

Close the machine and churn for 40 to 45 minutes.

Then transfer the exotic fruit sorbet into a food-safe container and store in the freezer.

Continue with the mango sorbet preparation, pouring it into the ice cream maker bowl as well.

Close the machine and churn for 40 to 45 minutes, until the ice cream has set.

Transfer the mango sorbet into a food-safe container and place in the freezer.

Finish by pouring the lemon sorbet preparation into the ice cream maker bowl...

...and churn for 40 to 45 minutes.

Transfer the lemon sorbet into a food-safe container. Store in the freezer.

In the end, you should have your four sorbets ready to keep in the freezer.

Once the sorbets are firm—after about 1 hour in the freezer—transfer each into a piping bag. No nozzle is needed. Keep the piping bags in the freezer until ready to proceed.

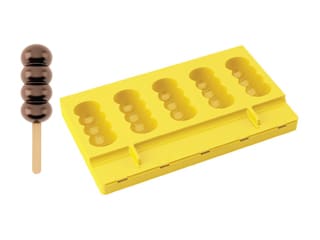
Moulding: Take the Bubbles popsicle silicone mould and set it on the work surface with the bottom part open.

Fill the first cavity (top sphere of the mould) with raspberry sorbet.

Make sure to completely fill the top sphere, as shown in the photo.

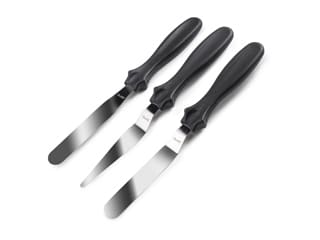
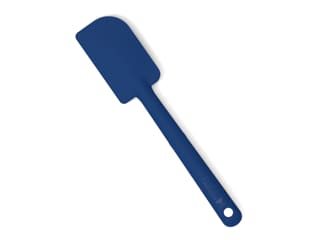
Use a mini offset spatula to guide the sorbet into place without overflowing into the next cavity.

Pipe mango sorbet into the second sphere...

...for all 5 cavities in the mould.

Smooth the mango sorbet into its cavity so it doesn't overlap into the third.

Continue by piping lemon sorbet...

...into the third sphere of each cavity.

Finish by filling the last sphere with exotic fruit sorbet...

...completing all 5 ice cream bars.

Close the movable bottom part of the mould.

Then insert 5 wooden sticks into the designated slots until they get into the sorbet.

Smooth the surface using the mini spatula...

...removing any excess if needed.

The surface of the ice cream bars should be perfectly smooth.

Cover the entire mould with plastic wrap (in contact with the surface) and return it to the freezer. It's important to mould the bars quickly to prevent the sorbet from melting.

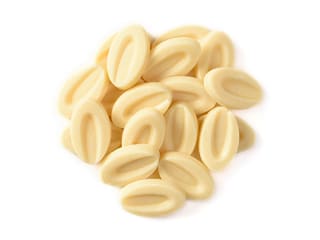
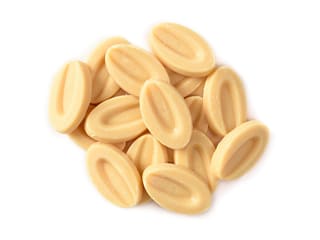
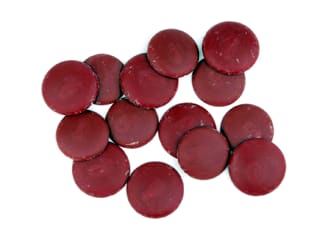
Glaze: Prepare all the ingredients. The method is the same for all 4 glazes. You'll need white chocolate, raspberry, yuzu, and passion fruit chocolate couverture, plus Mycryo cocoa butter to get a fluid consistency.

Start by melting the raspberry inspiration chocolate in the microwave, in 20-30 second increments, stirring every time.

Repeat the operation with the yuzu inspiration chocolate.

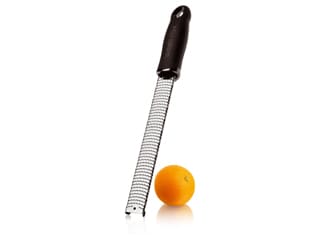
To enhance the yellow colour of the yuzu glaze, add some grated yellow Power Flowers colouring using a Microplane Classic zester grater (optional).

...and stir well until the colour is fully dissolved in the melted chocolate, which should be around 45°C.

Repeat the operation with the passion fruit inspiration chocolate, melting it in the microwave.

You can also add a bit of grated yellow Power Flowers colouring...

...and stir it in with a silicone spatula.

Add a small amount of grated red Power Flowers colouring.

Only a little is needed to get a warm orange-yellow glaze for the mango sorbet layer.

Mix until the orange glaze is smooth and uniform.

You now have your four melted chocolates. The fourth one is simply melted Ivoire white chocolate.

These melted chocolates will be made more fluid by adding melted Mycryo cocoa butter, respecting the proportions listed in the ingredients.

Place the mixing bowl with the melted chocolate on a kitchen scale and weigh the Mycryo cocoa butter directly into the bowl. Repeat with the other chocolates.

Once the glazes are ready, pour them into small, narrow, tall containers...

...at least as tall as the ice cream bars so you can dip them vertically.

Do this for each glaze.

If you're not using them immediately, keep the glazes in an oven preheated to 30°C (no more than 40°C) to prevent crystallisation.

Releasing the ice popsicles: When the bars are fully frozen, take the silicone mould out of the freezer and remove the plastic wrap.

Open the lower part to free the wooden sticks.

Then grab a stick and gently release the bar...

...as shown in the photo.

Repeat the operation for all the ice cream bars, placing them on a sheet of parchment paper on the work surface.

This is what the result should look like.

Glazing: Gather the 4 glazes and the ice popsicles.

Hold one bar by the stick...

...and dip it vertically into the white chocolate glaze.

The bar should be immersed completely, including 0.5cm of the wooden stick.

Then remove the bar from the glaze and let the excess drip off. You can move it gently up and down to help form a thin chocolate shell.

Once the white chocolate has crystallised, dip the bar into the yellow glaze (yuzu), covering only 3 of the 4 spheres—leave the top one white.

Dip the bar vertically until the third sphere is covered.

Let the excess glaze drip off.

After crystallisation, take the orange glaze (passion fruit)...

...and dip the bar in, covering two spheres...

...always keeping the bar vertical.

Remove the bar and allow the excess to drip off. Again, a gentle shake can help ensure a thin shell.

Once the orange glaze has set, dip the bar into the red glaze (raspberry)...

...covering only the last (bottom) sphere.

Remove the bar and let it drip. Repeat with the remaining bars. Let the glaze set on parchment paper, and return them to the freezer to avoid melting. Store in the freezer until ready to serve.

Arrange the ice cream bars on a popsicle stand and enjoy!
Please login to post a review