You can always send us your messages, comments or suggestions.
In one click, store and find all your favourite recipes.
Add this recipe >For the lemon biscuit:
Pour the egg whites in the stand mixer recipient.
Add the invert sugar.
Start beating the egg whites at medium speed...
... and increase the speed slowly...
... whip up until very stiff.
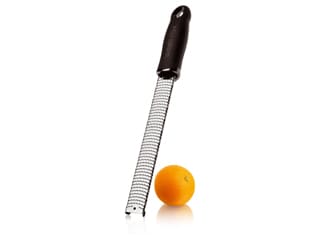
Zest the lemon with a Microplane Classic grater)...
... and add to the beaten egg whites.
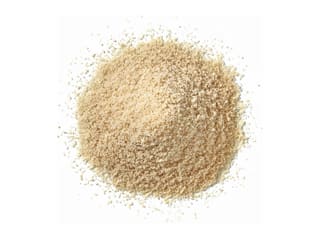
Sift the flour, almond powder and icing sugar.
Add the sifted ingredients in 2 or 3 batches to the meringue...
... and combine with the rubber spatula every time.
The lemon biscuit preparation is now ready.
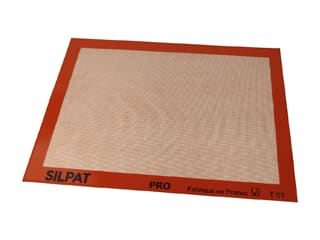
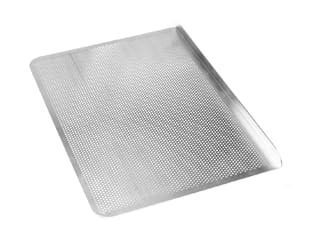
Place a Silpat baking mat on a Silichef XL perforated baking sheet.
Transfer the preparation on the silicone mat and spread with a cranked spatula...
... to create an even layer.
The result should look like this.
Bake in a fan-assisted oven preheated at 180°C (gas 4)...
... for 10 minutes. When cooked, remove from the oven...
... and leave to cool.
For the green apple insert (prepare ahead): Organise all the necessary ingredients.
Peel the apples.
Cut the apples into thin slices with a Japanese mandolin slicer...
... to a thickness of about 5mm.
Cut the slices into strips to a width of 5mm...
... then dice into a brunoise.
The result should look like this.
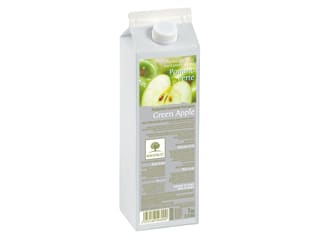
Place the green apple purée in a saucepan.
Add the castor sugar...
... and the lemon juice.
Add the green apple cubes.
Cook for a few minutes over medium heat.
The apple cubes should cook gently without turning into a compote.
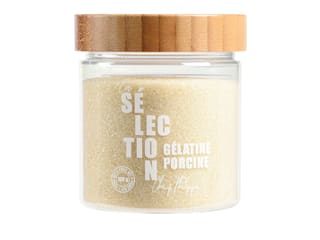
When the apple cubes are tender, remove from the heat and add the rehydrated gelatine. Combine well.
Add the Grand-Marnier and combine.
Pour the preparation in a piping bag.
Cut the tip of the bag to create a hole with a diameter of about 1cm.
Fill the cavities of a mini truffle silicone mould with the apple preparation.
Even the surface with a small spatula.
Cover the surface with cling film and place in the freezer.
For the Grand-Marnier Bavarian cream: Organise all the necessary ingredients.
Start with the milk, whipping cream, egg yolks and castor sugar.
Pour the whole milk and whipping cream in a saucepan.
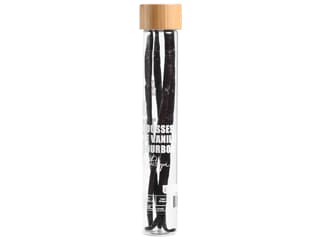
Add 1/2 vanilla pod or vanilla powder (or vanilla liquid extract).
I recommend using the vanilla powder.
Add half of the castor sugar.
Place the pan over medium heat.
Place the egg yolks in a mixing bowl.
Add the remaining castor sugar.
Blanch with a whisk.
When the milk and cream start boiling, pour them over the egg yolks and sugar.
Combine carefully then transfer the preparation into the saucepan used to boil the milk.
Cook à la nappe (i.e. until the consistency is thick enough to coat the back of a spoon), stirring constantly. The temperature shouldn't exceed 82°C (use a thermometer).
Pass the cream through a fine sieve.
Add the rehydrated gelatine and combine until completely dissolved.
Transfer the preparation into a large recipient and spread to a thin layer so it cools down faster.
In the meantime, whisk 280 grams of cold whipping cream in the stand mixer...
... until you obtain a whipped cream.
When the cream has cooled down, transfer into a mixing bowl.
Add the Grand-Marnier. Combine well.
Add 1/3 of the whipped cream.
Combine well with a whisk.
Add the rest of the whipped cream...
... and fold gently with the spatula, making sure to go right down to the bottom of the bowl until homogeneous.
Transfer the preparation into a piping bag.
Assembling the cakes: Using a pastry cutter Ø 4cm, cut the biscuit into discs.
The result should look like this.
Pipe the Bavarian cream at the bottom of each cavity from the fruit silicone mould.
Add a biscuit disc and bury it gently inside the cream.
Pipe a layer of Bavarian cream over the biscuit.
Remove the frozen apple inserts from the mould.
Place a frozen apple insert in each cavity, burying it a little in the cream.
Cover with Bavarian cream and fill up to the top.
Finish with a biscuit disc on top.
Cover with cling film and place in the freezer. Up to this stage, this recipe can be prepared several days or weeks in advance.
For the apple chocolate stems (make the day before): Organise all the necessary ingredients.
Melt the chocolate couverture in the microwave. Add the cocoa powder (sifted beforehand), one spoon at a time. Combine well every time.
Add cocoa powder until smooth. Transfer into a piping bag fitted with a plain nozzle Ø 3mm.
Pipe the chocolate into lines on a sheet of greaseproof paper.
The chocolate lines shouldn't be completely straight (see photo). Leave to cool.
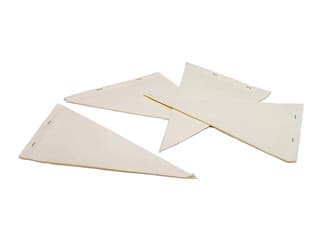
Assembling the apple stems: Make a decorating bag with a sheet of greaseproof paper...
... and fill with melted chocolate.
Seal the bag properly to avoid leaks.
Cut the tip of the bag to create a small hole with a diameter of Ø 2 mm.
The next day, cut the crystallized chocolate stems to the right length...
... between 4 and 5cm.
Dip the tip of an apple leaf in melted chocolate.
Carefully stick the tip with melted chocolate on the chocolate stick.
Make sure you arrange the apple leaves so they are facing the right way before sticking on the chocolate stem. Pipe a drop of melted chocolate to stick the apple leaves.
Leave to set. You can also use a cooling spray for a faster operation. Set aside.
For the green chocolate coating: For this recipe, I used the Power Flowers colouring system. The Power Flowers application can be downloaded for free on your smartphone and is really easy to use. This colouring system features 4 colours to create many shade combinations following a colour chart.
For each selected tone, the application specifies the exact quantities needed.
This is a really great colouring system which I found easy to use.
For the green colour I selected, I need 8 yellow Power Flowers and 1/4 red Power Flower. This depends obviously on the amount of chocolate.
The Power Flowers are easy to cut into equal portions with a small knife.
The ingredients are now ready, let's go!
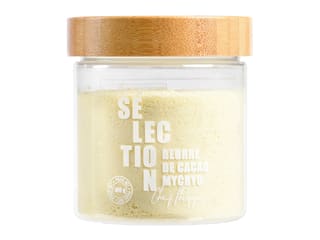
Place the white chocolate and Mycryo cocoa butter into 2 separate bowls.
Melt both ingredients until the temperature gets to 40°C.
Stir until homogeneous.
Pour the melted cocoa butter over the melted white chocolate.
Combine gently.
At this stage, the thermometer shows 41°C, which is perfect. If needed, place the bowl in the microwave for a few seconds until the temperature gets to 40°C.
Add the Power Flowers. We're using 400 grams of white chocolate.
Start stirring. The yellow flowers are the first to melt and the preparation turns yellow.
Continue mixing with a hand blender to activate the colour pigments. The preparation should start turning green.
After a few seconds, we get the exact shade of green shown on the colour chart. This colouring system ensures consistency results instead of adding approximative amounts of colouring powder.
Power Flowers are fat-soluble and non-azo, so they're mainly designed to use with chocolate.
Take the mould out of the freezer and release the apples from the mould. The apples should be really cold so they don't get damaged during this operation.
Arrange them on a baking sheet...
... leaving enough space between them. The coating should be applied quickly from now, before the apples start to defrost.
For the green coating: When the icing is between 40°C and 45°C (use a laser thermometer), pour it into a chocolate spray gun. I used a cheap paint spray gun for this recipe, which works really well for this type of application.
Fit the spray body on the recipient and screw until tight.
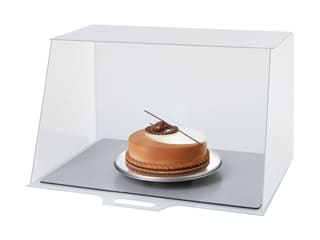
Spray the green icing over the apples. I recommend using an airbrush spray booth for a mess-free operation.
Adjust the gun if you find the coating too volatile.
The gun releases micro drops of icing which will set instantly in contact with the frozen apples to create a nice velvet pearl finish.
Make sure you apply the coating on the whole surface.
The green coating should be a very thin layer. The icing will crack if it is too thick.
Gently lift the apples...
... and arrange them on a serving platter.
For the finish: Insert the chocolate stems with leaves in the centre of the apples when they have started to defrost a little to make sure the chocolate stems don't break.
Repeat with all the apples.
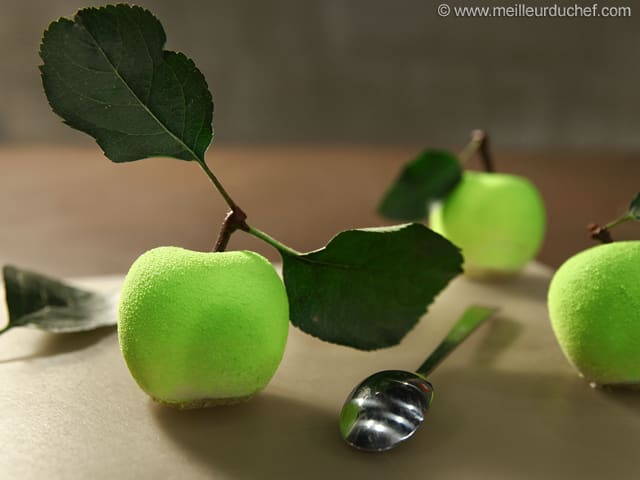
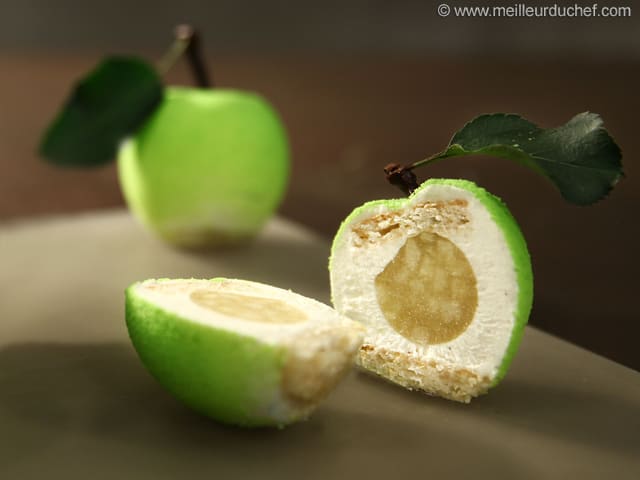
Our apple cakes are now ready. Leave to defrost in the fridge for 2 hours before serving. Enjoy!
Please login to post a review