You can always send us your messages, comments or suggestions.
In one click, store and find all your favourite recipes.
Add this recipe >Before starting this Gianduja Bûche de Noël recipe, organize all the necessary ingredients for the crunchy praline.
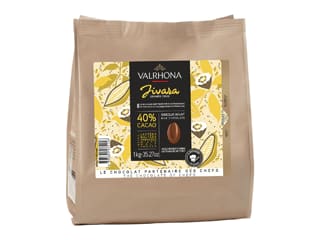
For the crunchy praliné: Place the Jivara milk chocolate in a bowl...
... and melt it in the microwave, stirring every 30 seconds.
When the chocolate has totally melted...
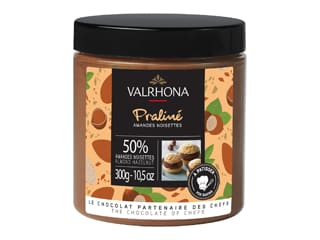
... add the hazelnut praline paste...
... and combine gently with the rubber spatula.
Add the pailleté feuilletine flakes...
... and combine.
The crunchy praline is now ready.
Cut a polyethylene sheet in half. Place the sheet on your kitchen worktop.
Pour the crunchy praline on the plastic sheet...
... and cover the praline with another polyethylene sheet. Spread the praline to a thickness of 0.5cm with a rolling pin. I used two rulers, one on each side, to get a regular thickness.
This is what the result should look like. Slide the praline carefully onto a baking sheet and refrigerate.
For the hazelnut Dacquoise: Organize the ingredients.
Sift the icing sugar...
... and the ground hazelnuts...
... over a sheet of greaseproof paper.
Pour the egg whites in the stand mixer recipient...
... and beat until firm...
... while incorporating the castor sugar, in two or three batches.
The meringue should form peaks when holding the whisk upside down.
Gather the ingredients for the hazelnut Dacquoise noisette: the meringue and the sifted powders.
Add half of the sifted ingredients to the meringue...
... and fold gently with a rubber spatula.
Add the rest of the sifted powders...
... and combine with the rubber spatula.
The Dacquoise preparation is ready.
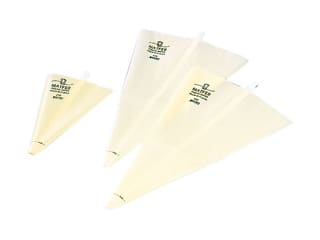
Fit a piping bag with a fluted nozzle Ø 12mm.
Fill the piping bag with the Dacquoise preparation.
Line a baking sheet with a sheet of greaseproof paper.
Pipe the Dacquoise preparation into tight rows until you get a rectangle with dimensions 34 x 18 cm.
Bake in a fan-assisted oven preheated at 180°C (gas 4) for about 12 to 15 minutes.
When cooked, remove from the oven...
... and leave to cool at room temperature.
For the praline jelly: Organise all the ingredients.
Heat the milk in a saucepan.
Combine the sugar and pectin NH together to avoid lumps.
When the milk starts boiling, add the sugar and pectin in a thin stream while whisking...
... and cook for 2 or 3 minutes to activate the pectin.
Add the hazelnut praline paste and combine vigorously...
... until smooth and homogeneous.
Transfer the preparation into a food tray to cool down.
Place cling film on the surface of the preparation...
... and reserve in the fridge.
When the praline jelly has set and cooled down, remove the cling film on the surface (the film should not stick to the jelly).
Transfer the jelly in a recipient...
... and whisk until smooth.
Pour the praline jelly over the hazelnut Dacquoise...
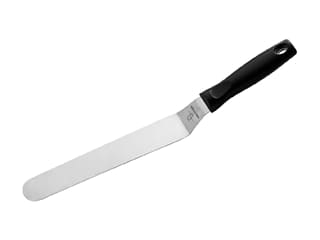
... and spread over the surface into a thin layer with a cranked spatula.
Cover the surface with cling film and place in the freezer.
For the Gianduja mousse: Organise the necessary ingredients.
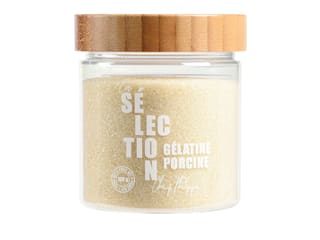
Hydrate the gelatine powder in 30 grams of water...
... then combine and leave to set between 10 and 15 minutes.
Place the milk in a saucepan, then bring to a boil.
Add the rehydrated gelatine and combine vigorously.
Place the Gianduja cut into chunks in a pouring jug...
... add the hazelnut praline paste...
... and the holt milk with the melted gelatine.
Mix with a Bamix hand blender until smooth and homogeneous.
Transfer into a food tray.
At this stage, the preparation should be between 43 and 45°C. Leave to cool at room temperature.
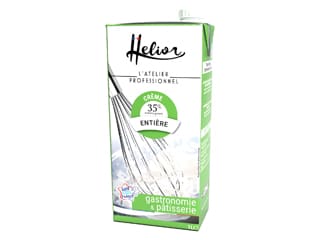
In the meantime, beat the whipping cream until you obtain a whipped cream.
Just before use, beat the whipped cream with a hand whisk to give it a soft texture.
Remove the Dacquoise from the freezer and remove the cling film.
Trim the end of the Dacquoise with a knife.
Cut the biscuit to a length of 22cm.
Cut a strip of Dacquoise biscuit to a width of 6cm...
... then cut another strip to a width of 4cm. Place these two strips in the freezer.
Pour the Gianduja mousse in a bowl.
At this stage, the preparation should be approximately 25°C (wait a little longer if it is too hot).
Add 1/3 of the whipped cream...
... and combine vigorously with a whisk...
... until homogeneous.
Add the rest of the whipped cream...
... and fold gently with a rubber spatula.
The Gianduja mousse is ready.
Transfer the mousse into a piping bag. The use of a nozzle is not necessary.
Place the Sublime silicone mould on a baking sheet.
Cut the end of the piping bag with scissors (the hole should have a diameter of 1cm)...
... and pipe the Gianduja mousse at the bottom of the silicone mould.
Using a small palette knife, create a volcano shape so that the mousse goes up the sides.
Place the Dacquoise strip (22 x 4cm) over the mousse, with the jelly side facing down.
Press on the biscuit with your fingers to bury it in the mousse, making sure it is perfectly horizontal.
Pipe the rest of the Gianduja mousse...
... and even the surface with a small cranked spatula.
Place the second strip of Dacquoise biscuit (22 x 6cm) over the mousse, with the jelly side facing down. Press down on the biscuit carefully to make sure the angles don't break with the round shape of the mould.
Bury the biscuit so it gets up to the rim of the mould. The mousse should come up the sides.
Even the surface with the small cranked spatula...
... and cover the surface with cling film. Place the mould in the freezer. Up to this stage, this recipe can be prepared several days (or weeks) in advance.
For the Gianduja icing: Organise the necessary ingredients.
Pour the water in a saucepan...
... add the castor sugar...
... and bring to a boil until the sugar is melted. Turn off the stovetop. We are making a syrup.
Pour the glucose syrup into a separate saucepan...
... the whipping cream...
... and bring to a boil.
In the meantime, break up the Guanaja and Gianduja chocolates. Place the chocolate chunks into a bowl.
Pour the boiling preparation as well as the sugar syrup over the chocolate chunks...
... and mix with a Bamix hand blender until smooth and homogeneous.
Add the grape seed oil...
... and blend again.
Place cling film on the surface of the preparation...
... and refrigerate. The icing can be prepared the day before.
Remove the crunchy praline from the fridge...
... and cut it into a rectangle with a width of 8cm...
... and a length of 24cm...
... using a knife and a graduated ruler.
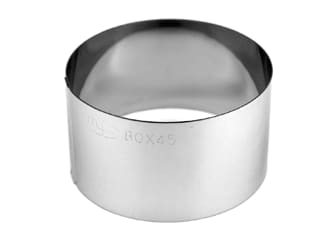
To create round tips, place a mousse ring Ø 8cm on both ends and cut along the rim with a knife.
The result should be as shown in the photo. Discard the praline scraps.
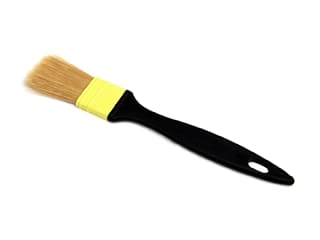
Coating the praline with chocolate: Melt 50 grams of dark chocolate and apply with a brush over the praliné rectangle...
... as shown in the photo. Return to the fridge.
For the milk chocolate velvet pearl icing: Organise the necessary ingredients.
In the meantime, melt the Jivara milk chocolate in the microwave, stirring with a spatula every 30 seconds to make sure it doesn't burn.
The result should look like this.
Repeat the operation with the cocoa butter. It should take longer to melt.
When the cocoa butter has melted, add it to the milk chocolate and combine carefully...
... until homogeneous.
Transfer the preparation into a chocolate spray gun...
... and screw the head back on. The icing should have a temperature of 35 to 40°C.
Alternative: if you do not wish to make the icing yourself, you can use the ready-to-use Velly Spray pearl velvet icing. Simply spray the icing directly over the frozen log. However, please note that the colour will be a darker brown.
Remove the log from the freezer and flip the silicone mould onto a rack, placed on top of a deep tray.
Gently release the cake from the silicone mould.
This is what the result should look like.
Spray the velvet icing over the surface of the frozen log, from a distance of 30/40cm...
... until all sides are coated with the pearl icing. Make sure there are no drippings of icing.
When you're done with the icing...
... take the Gianduja icing out of the fridge and reheat it in the microwave until the temperature reaches 40°C. Mix with a hand blender until smooth.
Transfer the icing into a pouring jug.
Pour the icing over 1/3 of the surface of the log.
Remove the biscuit base from the fridge...
... and flip it carefully...
... over a sheet of greaseproof paper.
Using two cranked spatulas, rotate the log on the rack to break any drippings of Gianduja icing...
... and lift it really carefully to arrange it over the crunchy praline base. Make sure it is perfectly centred.
Lift the whole thing and arrange it on a serving plate.
The result should be as shown in the photo.
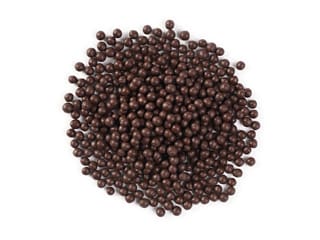
Using decorating tweezers, arrange dark chocolate pearls around the base of the lo, but only where it is coated with Gianduja icing.
The result should look like this.
Cut a chunk of milk chocolate Gianduja...
... and scrape the surface with a round plain cutter Ø 5cm to create a few shavings.
As you scrape the surface of the chocolate block, the shaving should start curling.
This is what the result should look like. You might need a few trials before getting the right shape.
Pipe a drop of melted chocolate on top of the log, on the junction of the pearl icing and Gianduja icing...
... and arrange a shaving of chocolate Gianduja on top. Use a cooling spray to fix.
Pipe another drop inside the shaving.
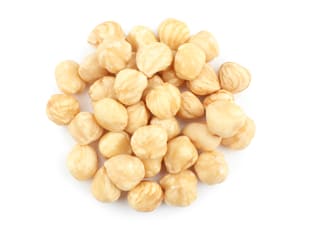
Coat a whole hazelnut with gold colouring powder...
... and arrange inside the shaving. Fix with the cooling spray.
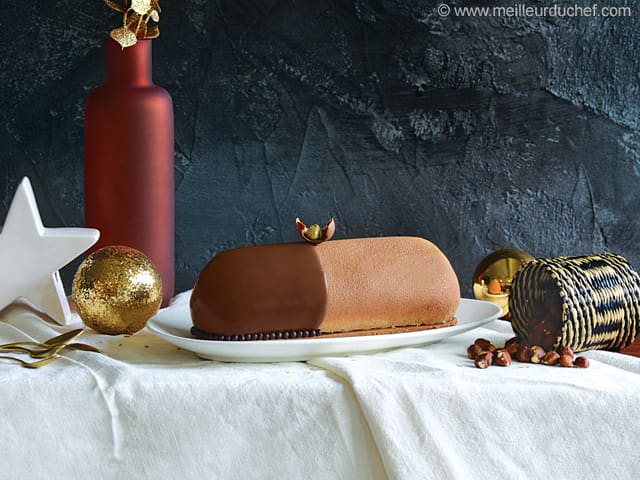
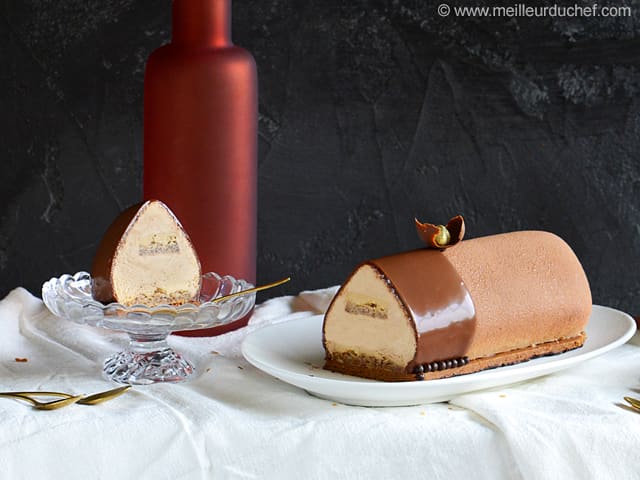
This beautiful Gianduja Bûche de Noël is now finished. Reserve in the fridge until defrosted completely. This should take about 2 hours. Enjoy these delicious Christmas treats!
Please login to post a review