You can always send us your messages, comments or suggestions.
In one click, store and find all your favourite recipes.
Add this recipe >Save time on Christmas day and prepare this chocolate yule log in advance.
Several days ahead, prepare the dark chocolate insert and cocoa nib biscuit and store in the freezer.
A couple of days before, make both mousse preparations and start assembling the log in the silicone mould, then store in the freezer.
The day before, make the icing and store in the fridge.
For the cocoa nib biscuit (can be prepared in advance): Organise the necessary ingredients.
Pour the egg whites in the stand mixer recipient and beat at medium speed. Beat until smooth, but not too firm.
When the egg whites become foamy, add 35 grams of sugar slowly.
Stop the mixer when the egg whites are smooth but still a little runny.
We generally tend to over-beat egg whites. We don't recommend testing the texture by flipping the bowl over your head this time ;-)
In a separate bowl, place the egg yolks, whole eggs and 80 grams of sugar, then whisk...
... until foamy. This should take a good 5 minutes, beating at medium to high speed.
Gather both preparations and the rest of the ingredients.
Add the sifted slowly to the egg yolk preparation and whisk vigorously.
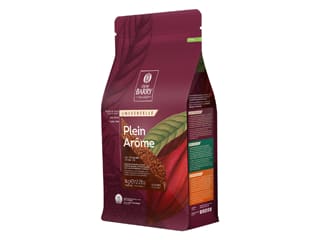
Add the sifted cocoa powder next and whisk again until incorporated. This preparation is not going to collapse.
Add the beaten egg whites, using a large rubber spatula this time.
Make sure you mix right down to the bottom of the bowl.
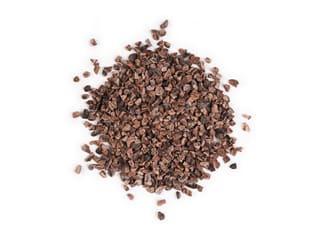
When homogeneous, add the cocoa nibs in 3 or 4 batches. (Beforehand, toast the cocoa nibs in the oven at 180°C between 8 and 10 minutes.)
Place a Flexipan® Entremets silicone mat (33.5 x 33.5cm) on top of a Silichef® perforated baking sheet.
Pour the preparation in the silicone mould...
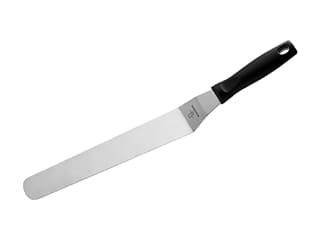
... and spread with a cranked metallic spatula to create an even layer. It is important to get an even thickness for best cooking results.
Bake in a fan-assisted oven preheated at 190°C (gas 5) for 10 minutes.
When cooked, remove from the oven.
Tap the biscuit with our fingers...
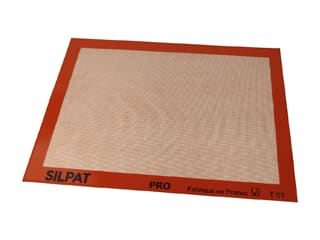
... to check whether it is cooked. Cover the biscuit with greaseproof paper or a Silpat baking mat to preserve its moisture. You can prepare this biscuit in advance, then let it cool down and store in the freezer. This will save you precious time on Christmas day.
For the dark chocolate crémeux insert (can be prepard in advance) : Organize the necessary ingredients.
Pour the whipping cream, glucose syrup and milk in a saucepan. Place on the heat.
Place the egg yolks in a small bowl and whisk. No sugar needed here: it is replaced with glucose syrup in the cream and milk mix.
When the preparation starts boiling, pour a little bit over the egg yolks while whisking.
Pour the mix into the saucepan with the rest of the milk, cream and glucose.
Cook 'à la nappe' over high heat, making 8-shaped motions with the whisk at the bottom of the pan.
Use a digital probe thermometer to check the temperature, which shouldn't exceed 80/82°C so we don't end up with scrambled eggs (eggs coagulate at 85°C).
Pass the cream through a fine sieve...
... over the dark chocolate pistoles.
Let the chocolate melt in the hot cream for a minute without stirring...
... then combine with the whisk until smooth and homogeneous.
Place a piping bag in a piping bag holder. The use of a nozzle is not necessary.
Pour the chocolate cream in the bag.
Cut the end of the bag with scissors to create a small hole, then pipe the chocolate cream into a mini yule log insert mould.
The quantity should be enough to fill both cavities up to 3/4. (Quantities listed in this recipe make 2 logs.)
Shake a little to even the surface.
Store in the freezer. Once the inserts have cooled down, place cling film on the surface, particularly of you're making them in advance.
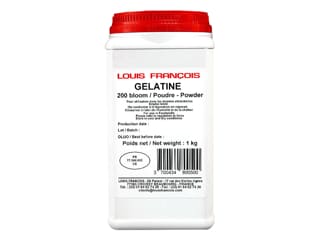
For the white chocolate mousse: Organise the necessary ingredients. Hydrate the powder gelatin with 30 grams of water (tap water is fine). Combine and set aside.
Pour 120 grams of whipping cream in a saucepan. Divide quantities by 2 if you're making one log.
When the cream starts boiling, remove the pan from the heat and add the cocoa nibs.
Combine with a rubber spatula.
The cocoa nibs are starting the absorb the cream, giving it a light brown colour.
Cover the saucepan with cling film...
... and let infuse between 30 minutes and 1 hour at room temperature.
Pass the infused cream through a fine sieve.
Press firmly with the spatula to extract as much cream as possible. You'll end up with less cream than the original quantity.
As we said earlier, you should be using 120 grams of whipping cream and 60 grams cocoa nibs if you're making two yule logs.
Once infused, most of the cream should be absorbed by the cocoa nibs. For instance, 120 grams of whipping cream should gave us 37 grams when infused.
Complete with whipping cream until you end up with 120 grams of preparation.
Transfer the cream in a saucepan.
Place on the heat and bring to a boil.
Add the hydrated gelatin mass to the hot cream and combine until dissolved.
Pour the warm preparation over the white chocolate pistoles and let sit for a minute without stirring...
... then transfer into a bigger bowl...
... and combine with a whisk.
Place the remaining whipping cream (cold) in the stand mixer recipient...
... and start beating at low speed to avoid splatter. Increase the speed gradually until you obtain a soft whipped cream. Make sure you don't over-beat it.
Using a probe or laser thermometer, check the temperature of the mousse. It should be between 28°C and 30°C.
Add half of the soft whipped cream to the white chocolate preparation...
... and combine with a whisk.
Add the remaining whipped cream...
... and combine with a rubber spatula.
Place a piping bag in a piping bag holder. No nozzle required.
Pour the preparation into the bag.
Cut the end of the bag with scissors.
Pipe the chocolate crémeux in the Gianduia silicone mould (placed on top of a baking sheet).
Fill up to 1/3.
Remove the chocolate insert from the freezer and release from the mould. Heat the mould a little with your hand then press gently and the insert should come off easily. Cut to the same length as the mould.
Gently rub your hand over the surface of the insert to get rid of the thin, white layer of frost. Make sure not to forget this step as the frost layer will turn into water while de-freezing.
Arrange the insert in the white chocolate mousse, with the rounded side facing down.
Due to the texture of the mousse, the insert should bury easily and mousse should come up the sides. Place in the freezer.
For the milk chocolate mousse:Organise the necessary ingredients.
Pour the milk in a saucepan...
... and bring to a boil.
Pour the hot milk over the milk chocolate and let melt for a little while without stirring.
Shake the bowl a little to immerse the chocolate.
Combine with a whisk...
... until homogeneous.
Beat the whipping cream until you obtain a soft whipped cream.
Add half of the whipped cream to the chocolate and whisk...
... then add the rest of the whipped cream and fold with the rubber spatula...
... until homogeneous. Set aside.
Place the cold cocoa biscuit on your workbench.
Detach the Silpat silicone mat on top.
Place a sheet of greaseproof paper on top and flip the Flexipan® mould.
Detach the silicone mat carefully, starting from the corners.
The biscuit should be moist and soft.
Trim the sides of the biscuit and cut a rectangle to 21 x 6.5cm.
Try to cut the biscuit rectangle in a corner so you waste as little biscuit as possible.
The rest of the biscuit can be stored in the freezer and used later for another recipe. The soft texture of this biscuit is also great for the preparation of a rolled dessert.
Take the log out of the freezer. The white chocolate mousse should be firm, but not frozen.
Scoop the milk chocolate mousse into a piping bag.
Pipe the chocolate mousse in the mould, leaving on top a gap of 0.5cm.
Cover with the biscuit rectangle, with the cocoa nib side facing up.
Press on the biscuit a little so the mousse comes up the sides a little.
Pipe more mousse if needed, until it gets up to the rim of the mould.
Even the surface on the sides with a small palette knife.
The biscuit should slightly come out of the mould by 1 or 2mm. This will it easier for us to lift the cake after the icing operation.
Cover with cling film and store in the freezer. Up to this stage, this recipe can be prepared a week or two in advance and stored in the freezer, provided it wrapped with cling film.
For the cocoa icing (make the day before): Organise the necessary ingredients. Soak the gelatine sheets in a big bowl filled with cold water. Immerse the leafs one at a time. Set aside.
In a saucepan, place the whipping cream and glucose syrup (do not use powdered glucose). Bring to a boil.
Add the cocoa powder in several batches...
... and combine with a whisk until homogeneous.
Set aside.
Make a syrup. Pour the water and castor sugar in a saucepan and bring to a boil.
Use a probe thermometer to check when the syrup reaches 110°C...
... and add the gelatine mass (beforehand, strain the gelatine sheets and melt in the microwave). Ideally, melt the gelatine in the microwave then refrigerate until set and melt it again in the microwave. This is a great way to prevent the gelatine from releasing moisture while defrosting.
Combine until the gelatine is completely dissolved.
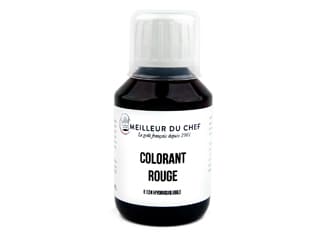
Add the syrup to the cocoa preparation, pouring it into a thin stream. Combine with a whisk. Add a few drops of strawberry red colouring (optional) for a brighter dark brown colour. Combine again.
Transfer into a deep, narrow recipient, preferably a jug...
... and mix with a hand blender. Make sure you prepare the icing 24 hours in advance for a perfect texture and a glossy result.
Place cling film on the surface of the icing to avoid oxidation.
Finish and decoration (on the day): Remove the yule log from the mould (pull one end of the silicone mould gently and it should come off easily). Gather the icing and all decorations on your workbench.
The icing has been made at least 24 hours in advance. Heat in the microwave until the temperature reaches 40°C, then let cool down to 28°C.
Mix the icing again with the hand blender. Make sure you don't incorporate any air to the preparation.
Transfer the log carefully onto a cooling rack, placed on top of a deep tray.
The icing should be 28°C at this stage.
Pour the icing in one stroke, starting from one end of the log and moving sideways slowly while making your way to the other end.
The result should look like this.
Wait until the excess icing has dripped off.
Carefully lift the yule log with a large spatula and a smaller one...
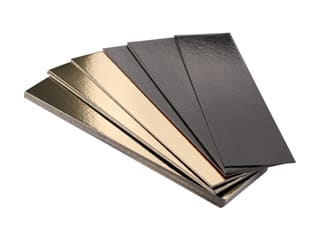
... and arrange it on a yule log cake board.
We prepared chocolate star decorations for this recipe (pour tempered chocolate in copolyester moulds and let crystallize).
You can make decorations with any shape or colour of your choice, possibilities are endless! Alternatively: chocolate discs, chocolate stars.
Watch the video for more details about the chocolate decorations we prepared for this dessert.
Add a little gold colouring powder to the cocoa nibs and combine until they have a thin iridescent coating.
Stick a thin collar of iridescent gold cocoa nibs around the base of the log.
Arrange the chocolate decorations on the surface. They should easily stick to the icing.
The 3-chocolate and cocoa yule log is now ready. Keep the decorations simple and elegant. Defrost in the fridge...
... for at least 6 hours before serving.
Enjoy this delicious dessert and have a sweet Christmas!
To prevent the gelatine from releasing moisture in the cake while defrosting, melt the gelatine in the microwave then refrigerate until set and melt it again in the microwave. This is a great tip for any recipe containing gelatine.
Please login to post a review