You can always send us your messages, comments or suggestions.
In one click, store and find all your favourite recipes.
Add this recipe >To make this Hazelnut & Caramel Tablet Entremets, start by preparing the hazelnut biscuit ingredients.
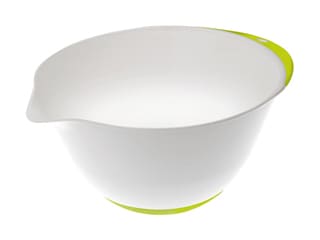
Hazelnut biscuit: Pour the icing sugar into the stand mixer bowl.
Add the whole egg...
...the egg yolks...
...as well as the hazelnut praline. Here, we are using smooth praline (unlike the homemade praline which will be used for the crunchy praline).
Mix these ingredients together at medium speed to start, using the paddle attachment.
Continue mixing at high speed for at least 5 minutes...
...until you obtain a homogeneous mixture.
Pour the egg whites, preferably matured and at room temperature, into a second bowl...
...and whip them into stiff peaks using the whisk attachment.
When the egg whites are well whipped, gradually add the granulated sugar while continuing to mix...
...until you get a meringue...
...with stiff peaks.
Pour the hazelnut mixture over this meringue...
...and gently fold it in using a spatula.
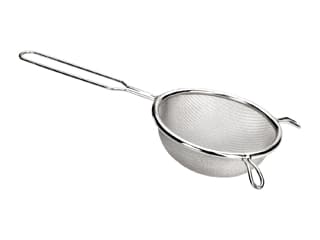
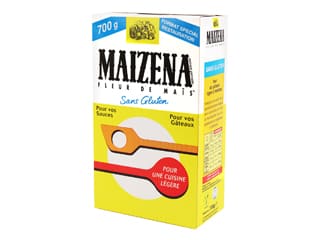
Sift the cornstarch through a fine sieve, over the mixture...
...and gently fold it in with the spatula.
Add the melted cocoa butter or Mycryo cocoa butter previously melted over very low heat. It should be barely warm.
Mix again until you get a smooth and homogeneous hazelnut biscuit batter.
Using an oil spray, grease the smooth silicone mat with edges.
Pour the hazelnut biscuit batter onto the mat...
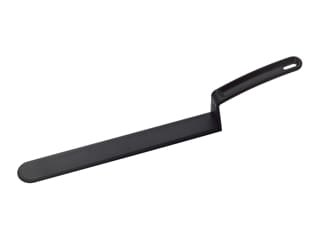
...and spread it evenly over the entire surface of the mat with a large cranked spatula, using the edges to achieve a uniform thickness.
Smooth the surface of the batter with a ruler larger than the mould so that the thickness is uniform everywhere.
Place the tray in a preheated convection oven at 180°C (gas 6) and bake for 12 to 15 minutes. The baking time may vary from one oven to another.
After baking the biscuit, remove the tray from the oven...
...and place it on the work surface.
Crunchy praline: Prepare the ingredients.
Pour the homemade praline and praline feuilletine crepe flakes into a plastic bowl.
Add the hazelnut praline grains...
...and mix all these elements together.
Melt the cocoa butter or Mycryo cocoa butter and pour it into the bowl.
Mix with the spatula...
...until you get our homogeneous crunchy praline.
Salted butter caramel: Prepare all the ingredients. Pour the glucose syrup into a saucepan (or reheat in the microwave).
Add the caster sugar (keep 1 tablespoon to mix with the pectin later)...
...and mix with a spatula. The sugar must be completely dissolved before the caramel starts to colour.
Split the vanilla pod in half with a knife, and scrape out the seeds.
Add the seeds and the split vanilla pod to a saucepan with the cream.
Add the fleur de sel to the cream. If you are using salted butter in this recipe, you will need to refer to the proportions listed in the ingredients. If using unsalted butter, you need to double the weight of fleur de sel.
Mix the remaining sugar (1 tbsp) with the pectin in a small container. Set aside.
The sugar continues to cook slowly (power 6 on a scale of 12 on the stove).
Cut the butter into small pieces, as it should be incorporated in stages. Adding all the butter at once could cause the caramel to split.
The sugar should gradually turn into a syrup. Continue mixing carefully to ensure the caramel cooks evenly.
The caramel should start to colour slightly. Be careful not to mix it too much or it will crystallize. Overmixing causes sugar molecules to rub against each other and form sugar crystals (lumps).
When you get a blond caramel, remove the saucepan from the heat.
Heat the whipping cream with the vanilla and fleur de sel.
Whisk until homogeneous.
When it comes to a boil, remove the saucepan from the heat.
Return the caramel to the stove...
...to continue cooking.
When the caramel is brown (not too brown, or it will become bitter), pour the hot vanilla cream over it. Beware of splashes and the risk of burns.
Carefully mix with the spatula to fully incorporate the cream into the caramel.
Let it simmer gently for 1 or 2 minutes.
Add the sugar and pectin NH mixture. The pectin will help to fix the water, preventing the caramel from loosening after cooling. The pectin will not gel the caramel, but it will stabilize it.
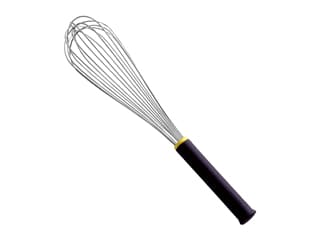
Add the butter pieces in three batches. Incorporate the first third of butter with the whisk...
...then add the second batch...
...and finally the last third, always whisking. When the caramel is smooth and homogeneous, bring it to a boil to make it thicker. The end result should be a soft texture, but not runny. The temperature should reach 105 to 106°C. The use of an electronic probe thermometer is recommended.
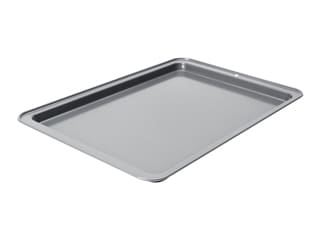
Pour the caramel onto a deep baking tray to cool.
Place the tray on a rack, so air can circulate underneath, speeding up the cooling process.
Cover with plastic wrap, pressing it directly onto the surface of the caramel, and let it cool at room temperature.
Insert assembly: Cover the warm hazelnut biscuit with a sheet of parchment paper...
...and flip it quickly to avoid breaking the biscuit.
Then remove the silicone mould by rolling up two corners on one side as shown in the photo...
...as well as the two opposite corners.
Remove the mould and let the biscuit cool completely.
Cut this hazelnut biscuit with the stainless steel rectangle ring.
The biscuit should be super soft and about 1cm thick.
Wipe the stainless steel rectangle and place it on a perforated baking sheet covered with a silicone mat.
Pour the crunchy praline into the bottom of the rectangle...
...and spread it to an even thickness using a mini offset spatula.
Place the hazelnut biscuit rectangle directly on top of the crunchy praline, ensuring it adheres well.
Pour the salted butter caramel over the biscuit, covering it to a thickness of about 1cm.
Place the tray in the freezer.
Dark chocolate base: Finely chop one third of the dark chocolate.
Melt the remaining 2/3 of dark chocolate in the microwave in 20 to 30-second intervals, stirring every time, until it reaches a maximum temperature of 50°C (ideally between 45 and 50°C).
Pour the chopped chocolate into the melted chocolate at 50°C...
...and incorporate it by stirring until completely melted (this is important).
Gradually, the temperature of the chocolate will drop. The ideal working temperature for tempered dark chocolate is 32°C.
Once the dark chocolate reaches 32°C, pour it onto a polyethylene sheet.
Cover the melted chocolate with a second acetate sheet...
...and spread it to a thickness of about 2mm using a rolling pin. Let it crystallize.
When the chocolate is semi-crystallized, remove the top acetate sheet and cut the chocolate into a rectangle (18.5 x 9.5cm). Start with the length...
...and the width...
...as shown in the photo.
Cover the chocolate rectangle with a sheet of parchment paper...
...and a heavy chopping board to prevent the chocolate from crinkling.
Praline hazelnut mousse: Prepare all the ingredients.
Pour 55 grams of whipping cream into a saucepan and heat it.
Hydrate the powdered gelatin with the hydration water and set aside for 15 minutes.
Place the whole egg into a bowl...
...and whisk vigorously, then measure out 25 grams.
Pour the hazelnut praline into a separate container. Set aside.
When the cream comes to a boil...
...pour it over the beaten egg. Whisk vigorously.
Transfer the preparation back to the saucepan used to boil the cream...
...and cook until it coats the back of a spoon like a custard, without exceeding 82°C so the egg does not curdle.
When the cream is cooked, strain through a fine sieve over the hazelnut praline.
Whisk vigorously until homogeneous.
Melt the hydrated gelatin in the microwave and incorporate it into the chocolate mixture using the whisk.
Pour the large amount of cold whipping cream (straight from the fridge) into the stand mixer bowl fitted with the whisk...
...and mix until you get a whipped cream.
The whipped cream should remain soft. If necessary, finish whipping by hand to control the texture.
Pour 1/3 of the whipped cream into the praline mixture...
...and whisk.
Incorporate the remaining whipped cream...
...and fold gently with the spatula until homogeneous.
Transfer this hazelnut praline mousse into a piping bag. A piping tip will not be necessary here.
Assembling the entremets: Remove the stainless steel rectangle from the freezer and gently warm it with a kitchen blowtorch, just enough to release the insert.
Remove the stainless steel rectangle by lifting it upwards, while pressing down on the insert with your thumbs.
This is what the finished insert should look like...
...with the distinct layers inside.
Place the Tablet silicone mould on a baking sheet.
Pipe the hazelnut praline mousse into the bottom of the mould, filling it halfway up.
Tap the mould on the baking sheet to release any air bubbles.
Place the insert into the mould, with the crunchy praline part directly in contact with the mousse, and therefore the caramel part on top.
Press the insert down into the hazelnut praline mousse with your fingertips so that the mousse rises up the sides.
Smooth out any excess hazelnut praline mousse with the mini offset spatula.
The insert should now be completely covered with the mousse.
Trim the edges of the dark chocolate rectangle.
Place the chocolate rectangle over the hazelnut praline mousse.
Cover the mould with cling film...
...and place in the freezer.
Finish: Once the entremets is frozen, remove it from the freezer and remove the cling film.
Pull on the sides of the silicone mold to facilitate the release of the cake.
Flip the mould onto a baking sheet covered with a sheet of cling film...
...to release the entremets. It should be frozen solid for optimal results. If necessary, trim the edges with the tip of a knife.
Shake the velvet spray well before using until the ball rattles inside the aerosol can (indicating that the colouring is homogeneous and ready to use), and spray it from a distance of 20/30cm.
Spray all sides of the tablet with the brown chocolate velvet icing...
...so that there are no parts on the surface of the cake left uncovered.
Use a large offset spatula to transfer the cake onto a serving plate.
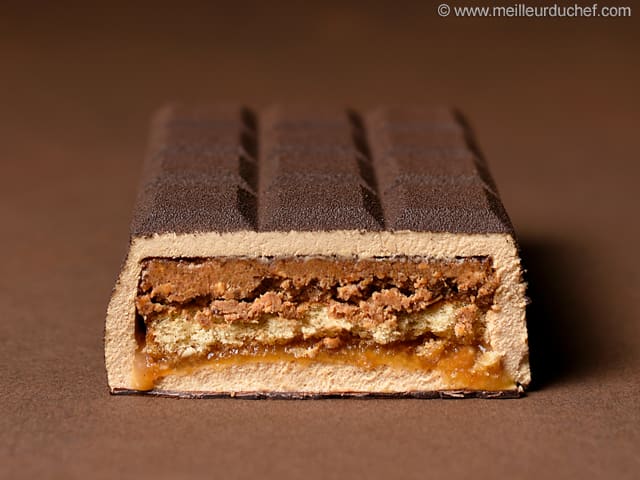
Our hazelnut and caramel tablet entremets is now ready. Allow it to thaw in the fridge for 4 to 5 hours before serving.
Please login to post a review