You can always send us your messages, comments or suggestions.
In one click, store and find all your favourite recipes.
Add this recipe >Before starting this Chocolate and Red Berry Christmas Wreath Cake recipe, organise the necessary ingredients for the mirror icing.
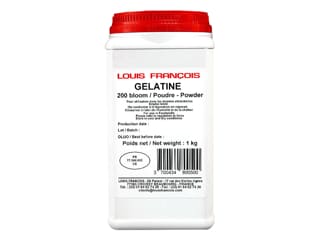
For the dark red mirror icing: Hydrate 10 grams of powder gelatin in 63 grams of water.
Stir with a spoon and set aside.
In a saucepan, tip the water, castor sugar and glucose syrup. Beforehand, I recommend placing it in the microwave for a few seconds until smooth and soft.
When the syrup starts boiling, continue cooking until the temperature reaches 103°C. For this step, the use of a digital or laser thermometer is recommended. If you don't have a thermometer, cook for a further 1 or 2 minutes after the syrup first starts boiling.
Pour the syrup in a mixing bowl...
... and add the unsweetened condensed milk...
... and combine with a whisk.
Add the chocolate pistoles to the hot preparation. Let the chocolate melt without stirring for a couple of minutes, then whisk the preparation until homogeneous.
Add the soft gelatin. It will blend easily in the hot preparation.
Add a teaspoon of tomato red colouring powder.
Mix the preparation with a hand blender...
... until perfectly homogeneous. Set aside.
For the hazelnut Dacquoise: Organise all the necessary ingredients.
Chop the hazelnuts with a knife and set aside.
Pour the egg whites in the stand mixer bowl.
Add half of the castor sugar...
... and start mixing at maximum speed until firm.
Add the remaining sugar and continue beating at high speed...
... until you obtain a stiff meringue.
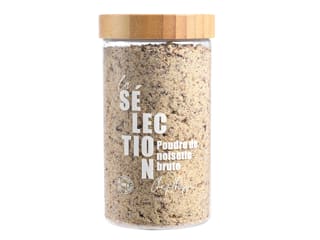
Pour the hazelnut powder over the meringue.
Sift the icing sugar over the meringue.
Fold the ingredients gently with a spatula until homogeneous. The preparation should loose some of its volume, which is completely normal.
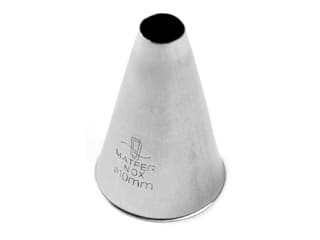
Transfer the preparation into a piping bag fitted with a plain nozzle (diameter 1 cm).
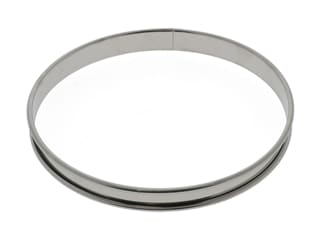
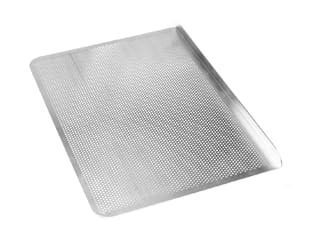
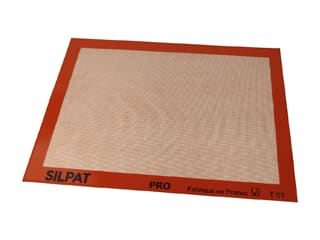
Place a tart ring (Ø 18cm) on a Silpat baking mat, placed on top of a Silichef XL perforated baking sheet.
Inside the ring, pipe the Dacquoise preparation in the shape of a spiral, starting from the centre towards the edge. The tart ring serves as a guide only. The diameter of the Dacquoise biscuit base should be identical to the savarin mould we'll use later, i.e. 18 cm.
Remove the tart ring, then pipe an extra spiral on the outer rim.
Sprinkle the chopped hazelnuts over the Dacquoise base.
Using a sugar shaker, drizzle some icing sugar over the biscuit disc...
... making sure you dust it with a generous amount of sugar. Bake in a fan-assisted oven at 160°C (gas 3) for 10 to 12 minutes.
When cooked, remove from the oven. Let the biscuit cool at room temperature. Don't try to lift it off the mat while it's still hot, or it will break.
For the crunchy praline insert: Organise all the necessary ingredients.
Melt the dark and milk chocolate, then combine and add the hazelnut praline paste.
Add the pailleté feuilletine flakes and the chopped hazelnuts. Blend all ingredients.
Transfer the praline preparation on a large sheet of greaseproof paper, folded in half.
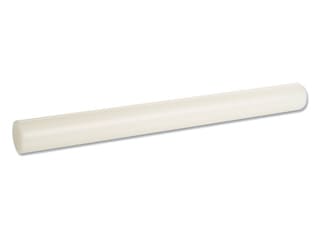
Fold the parchment over the preparation. Using a rolling pin, flatten the praline preparation to a thickness of 0.5cm. The result should be even and regular. Place the praline insert in the fridge until firm.
For the red berry jelly insert: Organise all the necessary ingredients.
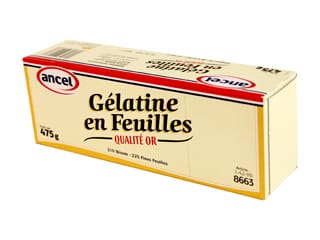
Steep the gelatine sheets in cold water.
Pour the red berry purée in a saucepan and place on the heat.
Add half of the sugar.
Incorporate the pectin into the remaining castor sugar. It is essential to combine the pectin and castor sugar together beforehand to avoid lumps.
Heat the fruit purée up to a temperature of 70°C, then add the pectin and sugar mix. Combine well. Continue cooking for a further 2 or 3 minutes.
Strain the soft gelatin with your hands...
... and add to the hot fruit purée. Mix until the gelatine is completely dissolved.
Stretch some cling film on one side of a tart ring to create a bottom. Make sure the film is stretched tight.
Pour the hot purée into the ring with a cling film bottom. Reserve in the freezer until ready to assemble the cake. For an easier operation on Christmas day, you can prepare this red berry jelly disc well in advance.
For the chocolate crémeux: Organise all the necessary ingredients.
Steep the gelatine sheets in cold water.
Place the milk and whipping cream into a saucepan, then bring to a boil.
In a separate bowl, combine the egg yolks and castor sugar until pale and fluffy.
Whisk vigorously for 1 or 2 minutes. We're going to follow the technique used for crème anglaise (custard).
When the milk starts boiling, pour over the blanched egg yolks.
Combine well, then transfer the preparation into the saucepan used to boil the milk.
Cook the cream to a temperature of 85°C. This cooking method is called 'à la nappe'. Stir constantly while cooking to avoid a grainy consistency. Make sure the temperature doesn't exceed 85°C, which would cause the eggs to coagulate.
Add the strained gelatin to the hot cream. Combine gently until the gelatin is fully incorporated.
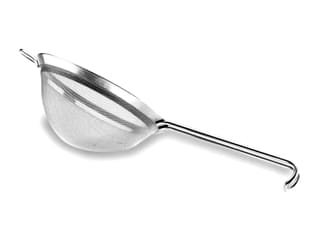
Pass the cream through a fine sieve over the chocolate pistoles.
Let the chocolate melt without stirring for a few seconds. The heat from the cream is sufficient to melt the chocolate.
Stir gently with a rubber spatula until homogeneous.
Stretch cling film on one side of a tart ring to create a bottom. Make sure the film is stretched tight.
Place the tart ring on a baking sheet, the side with cling film facing down.
Fill with the chocolate crémeux.
Store in the freezer until ready to assemble the cake.
For the chocolate mousse: Organise all the necessary ingredients.
Steep the gelatine sheets in cold water.
Melt the chocolate over a bain-marie or in the microwave, working in periods of 30 seconds to make sure the chocolate does not burn.
Place the whole eggs and egg yolks into the stand mixer recipient.
In a saucepan, pour the sugar with a little water.
Cook the sugar until the temperature reaches 118°C. I recommend using a thermometer for this operation. When the sugar reaches 118°C...
... add it slowly to the eggs. While beating at low speed, gradually add the cooked sugar, pouring it against the inner side of the bowl.
Strain the gelatin and add it to the hot preparation...
... then increase the speed and beat until cooled down completely. This preparation is called 'pâte à bombe'.
Add half of the whipped cream to the melted chocolate. Combine gently.
Add the rest of the whipped to the pâte à bombe, then fold gently.
Gather the chocolate preparation and pâte à bombe together. Combine gently.
Pour the egg whites and castor sugar in the stand mixer bowl.
Beat until you obtain a meringue.
Pour the chocolate preparation over the meringue...
... and fold gently with a rubber spatula.
The chocolate mousse should be homogeneous. Transfer the chocolate mousse into a piping bag. Do not cut the tip. The use of a nozzle is not necessary.
Assembling the cake: Remove the different elements from the freezer (red berry jelly, chocolate crémeux). Remove the praline insert from the fridge. The hazelnut Dacquoise should now be at room temperature. And the chocolate mousse is in the piping bag. The dark red mirror icing will be used right at the end.
Cut the tip of the piping bag to obtain a diameter of about 2 cm.
Fill the bottom of a Silikomart savarin mould with chocolate mousse, to a height of 1.5 to 2 cm.
Using a round cookie cutter (diameter 7cm), cut a hole in the centre of the red berry jelly disc.
Remove the cling film at the bottom of the ring. The jelly ring will come away easily from the ring. Release the jelly disc from the ring...
... and gently arrange it in the savarin mould on top of the chocolate mousse. Make sure to proceed quickly, as the red berry insert is very thin and won't take long to defrost.
At this stage, we have 2 layers of preparation.
Pipe a layer of chocolate mousse to cover the red berry insert.
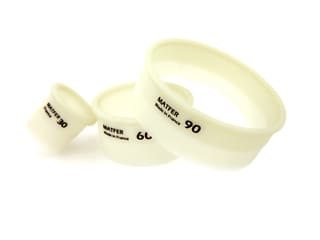
Cut a hole in the centre of the chocolate crémeux disc. Since the frozen chocolate disc is harder than the red berry jelly, I recommend using a small stainless steel ring to cut a hole in the centre. Slide the blade of knife between the chocolate disc and the stainless steel ring.
Arrange the chocolate disc in the savarin mould, on top of the chocolate mousse.
Cover the chocolate crémeux insert with chocolate mousse. Fill the gaps around the chocolate crémeux insert...
... then pipe a layer of chocolate mousse to a thickness of 0.5cm. The frozen chocolate crémeux should be completely covered with mousse.
Cut the praline insert to a diameter that is slightly smaller than the savarin mould. Using a cookie cutter...
... cut a hole in the centre of the praline biscuit.
Arrange the praline disc inside the mould, on top of the chocolate mousse. Slightly bury it in the chocolate mousse, which should come out a bit in the middle and on the sides.
Even the surface with the back of a spoon...
... and spread over the praline biscuit.
If needed, add some more chocolate mousse to cover the praline insert...
... and even the surface.
Using a stainless steel mousse ring, cut the Dacquoise biscuit to the same diameter as the savarin mould.
Cut a hole in the centre using a pastry cutter. This central hole is essential to obtain the shape of a Christmas wreath.
Arrange the biscuit disc on top of the chocolate mousse. The sides with chopped hazelnuts should be in contact with the chocolate mousse, the plain side should be facing up.
Press gently with your fingers so the biscuit adheres to the mousse.
Cover with cling film and store in the freezer. Ideally, freeze the wreath cake overnight.
The following day, remove the cake from the freezer...
... then remove the cling film and flip the cake onto a rack, placed on top of a deep tray. Gently release the cake from the soft silicone mould.
This Christmas wreath is now ready to be coated with icing. Reserve in the freezer right up to the last minute.
Pour the mirror icing into a high, narrow recipient. Using a Bamix hand blender, mix the icing until smooth and homogeneous to make sure there are no air bubbles. Reheat the icing up to 28°C or 30°C for the perfect texture.
Remove the cake from the freezer and pour the icing around the wreath. All the inner and outer sides should be evenly coated with icing.
Make sure you pour the mirror icing in one stroke.
The wreath cake should look like this. Gently tap the tray on your worktop to let the icing excess drip off. Make sure to proceed quickly, as the icing will set immediately when coming into contact with the frozen cake.
From now on, the cake should be stored in the fridge, not in the freezer. The cake will defrost slowly; it will take between 4 and 5 hours.
Arrange the cake on a serving plate.
To decorate the wreath cake, Cécile made a variety of chocolate ornaments. We used chocolate ivy leaf decorations, brushed with gold colouring powder. We made ridged chocolate circles using a transfer sheet, or using acetate plastic and a brush with melted coloured cocoa butter. We used small meringue mushrooms, decorations made of modelling chocolate, fresh fruits such as raspberries, crystallized macarons, edible flowers...
Our video recipe will give you a better idea of the decorations we used.
Arrange the decorations of your choice on the surface and sides of the cake.
The result should be elegant and harmonious.
To finish, we arranged a few silver sugar pearls as well as a chocolate medallion with a festive season printing.
Sprinkle with gold flakes and reserve in the fridge until ready to serve.
Many thanks to Cécile Moritel for this beautiful festive recipe.
Enjoy this delicious dessert and have a great Christmas!
Please login to post a review