You can always send us your messages, comments or suggestions.
In one click, store and find all your favourite recipes.
Add this recipe >Before starting this Chocolate, Honey & Caramel Tart, in Individual Tartlets recipe, make sure you have organised the necessary ingredients for the rich shortcrust pastry.
For the cocoa rich shortcrust pastry: In the stand mixer bowl, tip the flour...
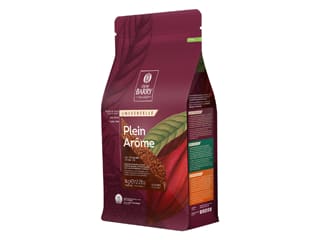
... icing sugar, baking powder and cocoa powder.
Then add the eggs and softened butter.
Mix at low speed with the flat beater...
... until the dough has a homogeneous consistency. Make sure you do not knead it excessively. Shape into a ball and set aside in the fridge.
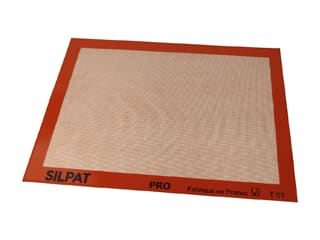
On a Silpat baking mat, roll out the dough to a thickness of 2mm.
The use of the baking mat ensures the dough doesn't stick to the worktop surface and reduces the amount of flour necessary.
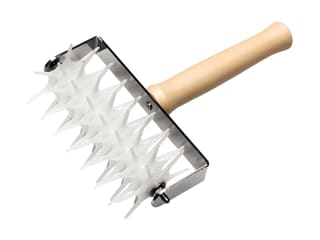
Prick the dough with a roller docker...
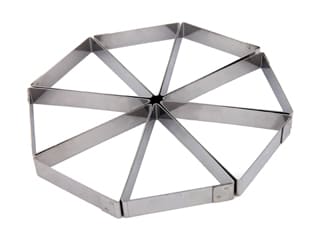
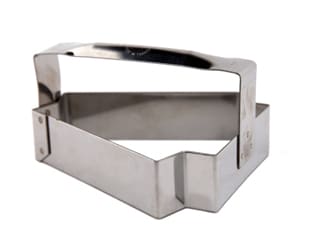
... then cut into triangles, using the appropriate triangle tartlet cutter.
The shape should fit perfectly into the triangle rings, with neat and clean edges.
Line the pastry in each triangle ring and cut any excess with a utility knife.
Repeat for all triangle rings and bake in a fan-assisted oven at 170°C (gas 3) for 12 minutes.
When cooked, remove the rings from the oven...
... and remove the tartlet rings gently...
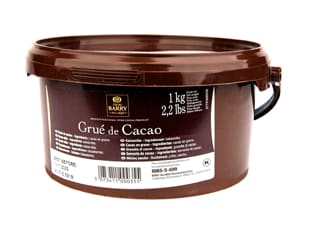
... and slightly sprinkle with Mycryo cocoa butter. This will make the pastry more resistant to moisture and give a longer lasting crispness.
For the honey and chocolate ganache: Organise all the necessary ingredients.
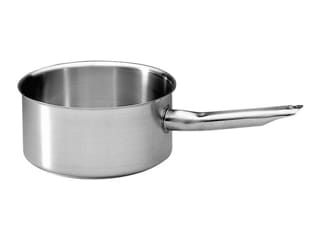
In a saucepan, heat the whipping cream, the honey...
... and the butter. Bring to a boil.
Remove from the heat and let the preparation go down to 80°C.
Pour the hot preparation over the dark and milk chocolates.
Combine until completely melted.
Assembling the tart: Melt the Cara Crakine in the microwave until soft.
Using a piping bag, pipe some Cara Crakine at the bottom of each pastry case, in the shape of a thick lace.
Using a small palette knife, spread it into a thin layer.
Transfer the ganache into a piping bag.
When the ganache is about 25°C, fill up the triangle pastry cases. For a glossy finish, let the ganache set in a cool room, between 17 and 20°C. Do not place in the fridge, otherwise the surface of the ganache will have a matt finish.
For the finish: In a frying pan, heat the cocoa nibs briefly to give them a nice dark colour.
The chocolate triangles have been prepared beforehand with tempered chocolate couverture. Spread the chocolate on an acetate sheet. When the chocolate starts to set, using triangle ring to draw and cut triangles.
When the chocolate is set, gently remove the acetate sheet. The side that was in contact with the acetate should be glossy.
We suggest 4 different decorations for this recipe.
Finish #1: Pierce holes in the chocolate triangles. Slightly heat up the tip of stainless steel piping nozzles in different diameters and cut holes in the chocolate.
Gently place the chocolate triangle on top of the tartlet, in direct contact with the ganache.
Finish with a small piece of gold leaf sheet.
Finish #2: Sprinkle a few cocoa nibs on top of the chocolate triangles, just before the chocolate completely sets.
Gently place the chocolate triangle on top of the tartlet, in direct contact with the ganache.
Pipe a few drops of ganache, making different sizes.
Finish with a small piece of gold leaf sheet.
Finish #3: On a plain chocolate triangle...
... pipe a few drops of chocolate ganache.
Finish with a small piece of gold leaf sheet.
Finish #4: The tartlet is kept as is, without any chocolate triangle on top. Finish with a small piece of gold leaf sheet on the glossy ganache filling.
For more details and technical explanations, don't hesitate to watch our video on YouTube.
Enjoy this festive dessert!
Please login to post a review