You can always send us your messages, comments or suggestions.
In one click, store and find all your favourite recipes.
Add this recipe >Before starting this Easy Pain aux Raisins recipe, organise all the necessary ingredients.
Place crumbed yeast at the bottom of the stand mixer recipient.
Pour the flour over the yeast.
Add the salt in a corner of the bowl.
Add the sugar in the opposite corner of the bowl.
Pour the milk powder in another corner of the bowl.
Add the egg yolk in the centre of the bowl...
... and the soft butter.
Add the water at room temperature.
Place the recipient in the stand mixer...
... and start kneading with the dough hook...
... for about 4 minutes at low speed. Kneading time should be precise so I recommend using a timer.
Knead for a further 4 minutes at high speed. Make sure you stay close to the mixer during the whole kneading operation as it might start shaking due to the hard consistency of the dough.
When kneading is finished, stop the mixer and detach the dough stuck on the hook.
Using a digital scale, weigh the kneaded dough. You should end up with 900 grams. Make sure you weigh the dough, as this will define how much butter you need. For 900 grams of dough, you need 300 grams extra-dry butter for the turning process.
Shape the dough into a ball on your workbench...
... then cover with a tea towel and set aside for 15 minutes.
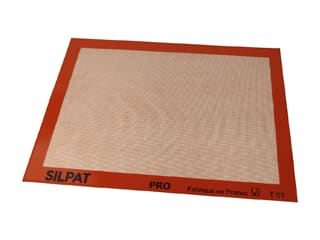
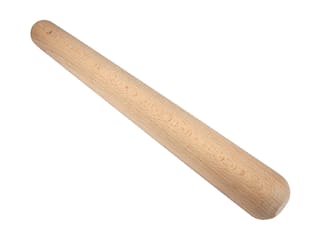
In the meantime, soften the butter with a rolling pin between two Silpat baking mats. Roll the butter into a rectangular shape.
Start rolling the dough as well with the rolling pin...
... to create a rectangle with dimensions 40 x 25 cm.
The result should look like this.
Place the dough on a baking sheet lined with greaseproof paper. Stretch the corners to obtain a perfect rectangle shape.
Cover the surface of the dough with cling film. Store in the freezer for 30 minutes. The dough and butter should have a similar texture.
When firm, remove the dough from the freezer and place over a floured surface.
Place the butter in the centre of the dough. The width of the butter should be the same as the dough, minus 1 cm on each side. Our dough has a width of 25 cm, so the butter is 23 cm. Butter should have half the length of the dough (20 cm if your dough is 40 cm).
Fold the top part of the dough over the butter (it should cover half of the butter).
Fold the bottom part of the dough over the butter so both parts meet in the centre.
Ease both edges together with your fingers to seal them.
The result should look like this.
Ease the pastry on each side to create a seal.
This is what the result should look like.
Start rolling out the pastry without rotating it.
Roll out to a thickness of about 0.5 cm.
Make sure you keep rolling out the dough in a rectangular shape, with right corners.
Fold the top part of the dough so it reaches the centre...
... then fold the bottom part until both parts come close, with a 1cm gap.
Fold the top part over the bottom to create a strip. This is called a double fold.
Give the dough a quarter turn...
... and roll out again to a thickness between 0.5 cm and 1 cm. You can widen the dough while rolling.
Give the dough a quarter turn. Fold the bottom third over the centre...
... and fold the top third.
Wrap with cling film and refrigerate for at least 30 minutes. Ideally, refrigerate between 1 and 1.5 hours.
Place the dough on a floured surface.
Roll out with a rolling pin. You can also use a laminator if you have one.
Thickness should be 4mm. I recommend using a rolling pin with spacer discs for a perfectly regular thickness.
Transfer the pastry over a baking sheet lined with greaseproof film...
... and cover with cling film. Reserve in the fridge. You can also store this pastry in the freezer for several days. I recommend making the pastry the day before and storing it in the fridge overnight.
Follow our recipe for crème pâtissière.
Cook the pastry cream and bring to a boil until thick.
Transfer the cream into a food tray and spread to a thin layer so it cools down fast.
Cover the surface of the cream with cling film and set aside until cooled down completely.
When the crème pâtissière is cold, transfer in the stand mixer recipient. The jellied consistency is normal.
Beat the pastry cream until smooth.
Add the dark rum at low speed to avoid splashes.
The crème pâtissière is now ready. Set aside.
Remove the pastry from the fridge and place on your workbench...
... and remove the cling film.
Divide the pastry rectangle in half. Each half should be 30 x 25 cm.
Place one half on your workbench.
Scoop some crème pâtissière in the centre of the pastry. You'll need about 5 or 6 tablespoons.
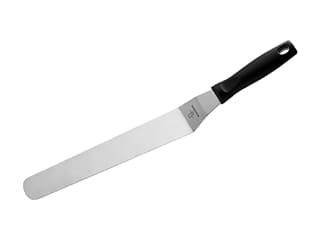
Spread with a metallic cranked spatula...
... to a very thin layer.
Strain the currants (soaked in hot water beforehand). Scatter the currants over the cream, in a homogeneous pattern.
Start rolling the pastry from the narrowest end...
... and continue until you create a sausage shape. You want to avoid air bubbles inside, so make sure the roll is tight.
This what the result should look like.
Using a sharp knife, cut slices to a width of 2 or 3 cm.
Repeat and slice the whole roll. At this stage, the pains aux raisins can be stored in the freezer, provided you didn't freeze the pastry in step #47. On the day, leave them out to defrost before baking.
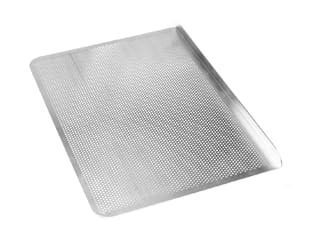
Arrange the roll slices over a Silpat baking mat, placed on top of a Silichef XL perforated baking sheet. Leave enough space between the rolls as they need to rise. Store the rolls in a proofing chamber set to 28°C, or in an oven preheated at 28°C maximum (turn the oven off when you put the rolls in). If you see fat coming out of the pastry during proofing, this means the chamber or oven is too hot (but the pains aux raisins are still good to use). Leave to rise for about 2 hours.
2 hours later, the rolls should have tripled in volume.
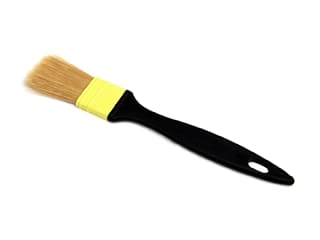
Using a pastry brush, glaze the surface of the rolls with egg wash (egg yolk mixed with a little water). Apply a thin layer.
The rolls are now ready for baking.
Place in a fan-assisted oven preheated at 180°C (gas 4)...
... and bake between 13 and 18 minutes. Baking time might vary according to the type of oven.
The pains aux raisins are ready when golden.
Remove from the oven and set aside to cool.
Melt the clear glaze in the microwave, then apply a thin layer with a brush over the surface of the pains aux raisins, for a glossy finish and a longer-lasting moisture.
The pains aux raisins are now ready. Let them cool down before serving. When cooled down, you can also keep them in the freezer and reheat them for 10 minutes at 150°C until warm and soft. Enjoy!
Please login to post a review