You can always send us your messages, comments or suggestions.
In one click, store and find all your favourite recipes.
Add this recipe >Before starting this Individual Fraisier Cakes recipe, get some ice cubes ready. Place a silicone mould on a baking sheet...
... and fill the cavities with cold water. You can use the mould and shape of your choice, depending on the celebration (heart, sphere, ingot...).
Cover the silicone mould with a perforated baking sheet.
Place wooden picks around the baking sheet to mark the centre of each cavity.
Insert the wooden picks through the holes to maintain them in a vertical position...
... as shown in the photo.
Store in the freezer until you get hard ice cubes. Preferably, prepare the ice cubes the day before.
For the sponge cake with pistachios: Organise all the necessary ingredients.
Combine the eggs and sugar in a mixing bowl or in the stand mixer recipient.
Using a hand whisk, whip over a bain-marie.
The temperature should reach roughly 40°C.
Finish beating with an electric mixer until cooled down completely. If you do not have a food mixer, you can finish whisking manually.
The preparation is ready when doubled in volume.
Add the sifted flour...
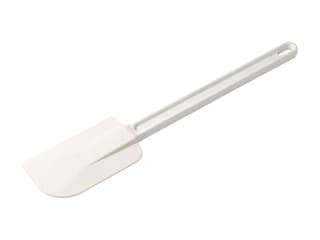
... and incorporate the sifted flour gently with a maryse spatula, working in circular motions.
Add the melted butter (make sure it has cooled down first).
Pour the preparation on a baking sheet lined with a sheet of greaseproof paper.
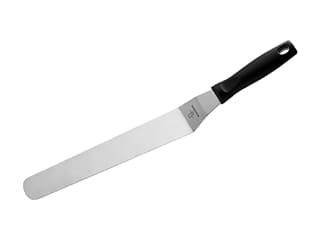
Spread with a cranked metallic spatula.
Sprinkle the chopped pistachios over the preparation.
Bake in a preheated oven at 180°C (gas 4).
Cook until golden.
When cooked, leave to cool on a rack.
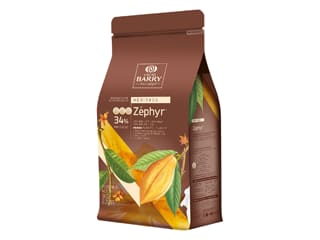
For the white chocolate cases: Melt the white chocolate over a bain-marie. The temperature should not exceed 40°C.
Take the ice cubes out of the freezer.
Remove the perforated baking sheet on top. The wooden picks are now set inside the ice.
On your working surface, place the ice cubes, a sheet of greaseproof paper and the melted chocolate at the right temperature.
Gently release one ice cube from the silicone mould...
... and dip the base in the melted chocolate, making sure not to immerse the whole ice cube. Lift it gently to let the excess chocolate drip off. The wooden pick is convenient to handle the ice cubes without dipping your fingers in chocolate.
Carefully arrange the ice cube on the baking parchment. When coming in contact with the ice cube, the melted chocolate will set instantly.
Repeat the operation with all the ice cubes...
... and arrange them on the greaseproof paper. Make sure the ice cubes are not too close to each other so the chocolate cases don't touch.
After a few minutes, the chocolate case will easily come away from the ice cube.
Detach all the chocolate cases and store them in the fridge. You can store the ice cubes in the freezer for a future recipe.
For the vanilla crème mousseline: Organise all the necessary ingredients.
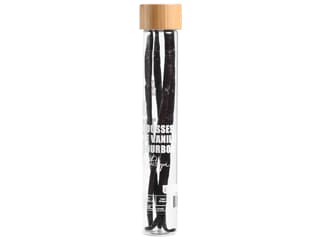
Pour the milk in a saucepan and add half of the sugar. The sugar will prevent the milk from burning and sticking to the bottom of the pan. Cut the vanilla pods in half lengthwise and scrape the seeds with a knife. Add the vanilla pods and seeds to the milk. Bring to a boil.
In a mixing bowl, place the egg yolks and the remaining castor sugar.
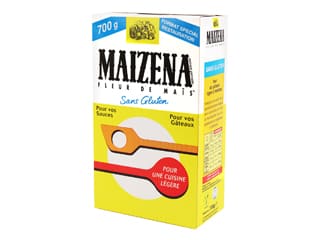
Blanch with a whisk. Add the cornflour. If you don't have any cornflour, you can replace it with potato starch. Whisk well until homogeneous.
When the milk reaches 60°C...
... pour it over the castor sugar and egg yolks mix. Whisk constantly while pouring the milk.
Transfer the preparation into the recipient used to boil the milk.
Cook the sauce for 3-4 minutes over medium heat, stirring constantly to prevent the sauce from sticking to the bottom of the pan.
Cook until thick...
... add 30 grams of butter...
... and combine vigorously until the butter is completely melted and incorporated.
Transfer the cream into a large dish...
... and spread to a thin layer.
Cover with cling film and refrigerate.
For the syrup: Organise all the necessary ingredients.
Pour the fruit purées in a saucepan and add the castor sugar.
Bring to a boil, then transfer into a bowl.
Set aside to cool, then add the kirsch. Set aside.
For the vanilla crème mousseline (continued): Place 120 grams of soft butter in the stand mixer recipient.
Whisk for a good 5 minutes. The butter should be smooth and pale.
Take the pastry cream out of the fridge and add it to the bowl.
Combine vigorously until smooth. The cream might have a grainy consistency, which is caused by the temperature gap between the cold cream and the warm butter. Slightly heat the sides of the bowl with the blow torch while beating at high speed. Make sure the butter doesn't melt.
The crème mousseline should be perfectly smooth. Transfer the cream into a piping bag fitted with a fluted nozzle. Reserve in the fridge.
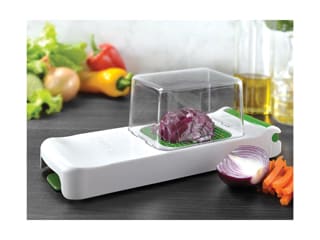
Cut a few strawberries into small chunks. I recommend using the Alligator cutter. Slice the strawberries first, then place the slices inside the chopper.
Press the chopper down to obtain small strawberry dices.
Transfer into a glass bowl. Add 2 or 3 tablespoons of syrup.
Combine gently.
Assembling the cakes: Using a plain pastry cutter (diameter 5cm), cut out discs of sponge biscuit.
Dip the biscuit discs in the strawberry syrup...
... and carefully arrange a disc at the bottom of each white chocolate case.
Repeat the same operation with all the white chocolate cases.
Scoop a few strawberry dices over the biscuit...
... and pipe a spiral of vanilla crème mousseline on top.
The cream should now be perfectly set. If necessary, leave the cream in the fridge for a little while longer.
Repeat for all the individual fraisier cakes...
... and reserve in the fridge.
Select medium-size strawberries and line them up on your worktop surface.
Drizzle Codineige non-melting sugar over the tips of the strawberries.
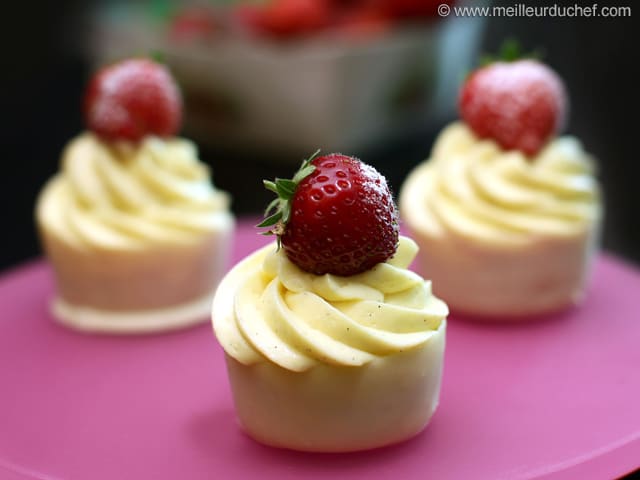
Carefully arrange one strawberry on top of each cake. Reserve in the fridge until ready to serve.
Please login to post a review