You can always send us your messages, comments or suggestions.
In one click, store and find all your favourite recipes.
Add this recipe >To get started with this Pear and Chocolate Yule Log recipe, melt the Ocoa dark chocolate over a bain-marie.
In the meantime, pour the sugar in a saucepan.
Add a little water...
... just enough to moisten the sugar.
Place the eggs (at room temperature) in the stand mixer recipient.
Start beating at medium speed.
When the boiling intensity starts reducing, check the temperature with a thermometer.
When the temperature is 121°C, take the pan away from the heat.
Reduce the speed and carefully add the boiling sugar, pouring it against the inner side of the bowl.
Increase to maximum speed and continue beating until cooled down completely.
The preparation should be pale and doubled in volume (this is called 'pâte à bombe').
Set aside.
Place the cold whipping cream in the stand mixer recipient...
... and beat until you obtain a whipped cream. Reserve in the fridge.
When the chocolate is melted...
... add it to the fluffy preparation...
... and combine gently with a whisk...
... until homogeneous.
Make sure the chocolate is completely incorporated, without whole bits remaining in the preparation. Check the temperature with a laser thermometer. The preparation should not exceed 35°C!
Add 1/4 of the whipped cream to the chocolate preparation...
... and whisk vigorously.
Add this mix...
... to the rest of the whipped cream.
Fold gently with a rubber spatula...
... until homogeneous. The consistency of this chocolate mousse is firm enough to withstand cutting and slicing.
Transfer the preparation into a piping bag. The use of a nozzle is not necessary.
Pinch the top of the bag closed with your hand to ensure a good grip...
... and fill the yule log insert mould.
Even the surface with a cranked spatula.
Cover with cling film and store in the freezer. The chocolate insert can be prepared several days in advance and stored in the freezer. If you do so, make sure it is tightly wrapped in cling film.
For the printed chocolate shell: Using a box cutter, cut a transfer sheet with the pattern of your choice to the dimensions of the yule log mould.
Place the transfer sheet in the mould, with the printed side facing up.
Tempering the chocolate: Melt the chocolate over a bain-marie at a temperature of 40°C or 45°C maximum.
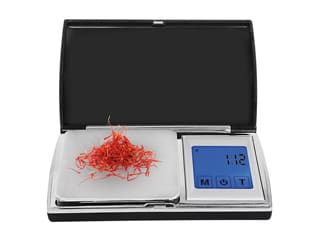
The quantity of Mycryo cocoa butter needs to be accurate, so I recommend using a precision digital scale.
When the chocolate is melted, let the temperature go down to 35°C. Stir often so the chocolate cools down faster.
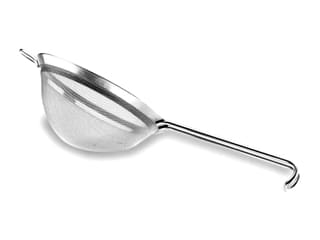
When the chocolate is down to 35°C, sprinkle the cocoa butter powder over it. If there are lumps in the Mycryo powder, sift before adding to the chocolate.
Combine gently until the temperature goes down to 31°C.
The tempering operation is complete when the chocolate is at 31°C. The chocolate should be kept at that same temperature the whole time you're using it. We're now ready to make the chocolate shell.
Place the transfer sheet rectangle over baking parchment. This will avoid creating too much mess. The printed side should be facing up.
Pour the tempered chocolate on the transfer sheet...
... and spread to a thin, regular layer with a cranked metallic spatula.
Slide the spatula again to get an even thickness.
Leave the chocolate to set at room temperature.
After a few minutes, the chocolate should be partially crystallized. The chocolate should be soft but no longer liquid. Touch the chocolate with your fingers: they should stay clean. Gently lift the transfer sheet...
... and place it over the yule log mould...
... then gently push it down so it perfectly lines the cavity.
Set aside.
For the pear mousse: Pour the pear purée in a small saucepan...
... and place over medium heat.
Using a digital kitchen scale, weigh the agar-agar. If you would like to use gelatin sheets, you will need 5 sheets, i.e. 10 grams. Soak them in cold water until soft.
Combine the agar-agar and the castor sugar. It is essential to combine the agar-agar and sugar together beforehand to avoid any lumps. This will allow the agar-agar to dissolve easily.
Combine gently.
When the pear purée is hot, add the sugar and agar-agar.
Combine well...
... and bring to a boil again. Cook at a gentle boil for 2 or 3 minutes...
... and mix with a Bamix hand blender.
Transfer into a recipient and leave to cool at room temperature. Do not refrigerate!
When the pear purée is at 30/32°C, add 1/3 of whipped cream to facilitate the incorporation.
Combine vigorously with a whisk.
Add the rest of the whipped cream...
... and combine gently with a rubber spatula.
Transfer the preparation into a piping bag. The use of a nozzle is not necessary.
For the filling: Strain the tinned pears and dice them. Place them on paper towel to absorb as much moisture as possible.
Assembling the log: Remove the frozen chocolate insert from the mould. This mould is reusable (make sure you don't wash it in the dishwasher).
Release the insert carefully, making sure not to break it.
Cut the insert to the same length as the yule log tin.
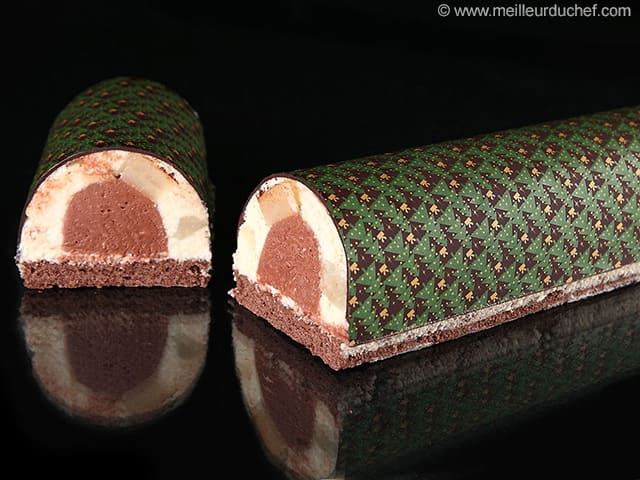
Fill the bottom of the mould with pear mousse.
Scatter a few pear cubes over the mousse.
Place the chocolate insert over the pears...
... and bury it a little in the pear mousse.
Fill the rest of the mould with pear mousse.
Even the surface with a spatula. The pear mousse might have a grainy consistency, which is caused by the texture of the pear purée. The result would be smoother if we used a red berry purée, for instance.
Cut the chocolate biscuit to the dimensions of the yule log mould. Depending on the dimensions of your biscuit, you might need two separate pieces.
Press gently to make it stick to the mousse.
Using a knife, even the edges to get rid of the excess cream.
Refrigerate for 2 or 3 hours.
Release the log from the mould onto a yule log cake board. The log should come away easily, thanks to the transfer sheet lining the mould (only the ends might stick a little to the mould). If necessary, slide the blade of the knife between the log and the mould to detach the ends...
... for an easier operation.
Lift one corner of the transfer sheet and carefully detach it from the surface the log.
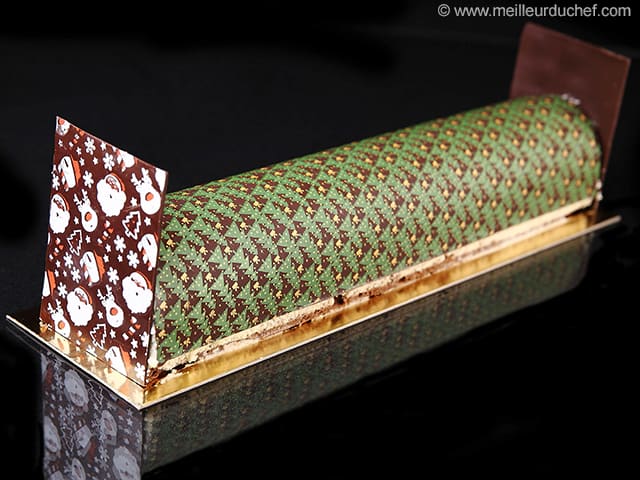
The chocolate shell should now be printed with the Christmas pattern.
This will add a beautiful, festive look to your dessert. Note that the dark brown trees on the pattern are actually the chocolate shell itself. A milk chocolate shell would create light brown trees and a white chocolate shell white trees.
You can decorate both ends of the log with printed chocolate tips (with the pattern of your choice) or wrinkled chocolate tips. You can also use our range of chocolate moulds for decorated yule log tips.
The printed shell gives this dessert a very festive look and extra decorations would be unnecessary. Make sure you don't pick Christmas cake toppers on the surface of the log, as the chocolate shell would crack.
Please login to post a review