You can always send us your messages, comments or suggestions.
In one click, store and find all your favourite recipes.
Add this recipe >To make this White Chocolate, Raspberry & Matcha Christmas Yule Log recipe, start by preparing all the ingredients for the matcha madeleine biscuit.
Matcha madeleine biscuit: Pour the whole egg and the egg yolk into the bowl of the mixer.
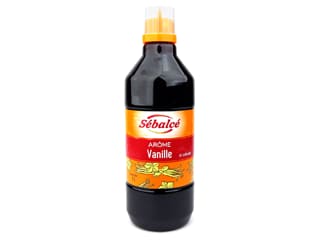
Add the liquid vanilla. You can use vanilla powder, knowing that it will leave small black specks in the batter.
Add the caster sugar...
...and whisk everything with the mixer for a few minutes (about 5 minutes) until the mixture lightens and increases in volume.
In the meantime, sift the flour and matcha powder over a mixing bowl.
Once the eggs and sugar have been well whipped, add the sifted powders...
...and gently mix using a maryse spatula.
While mixing, add half of the melted butter (cooled down beforehand).
Continue mixing, and before the butter is fully incorporated...
...add the remaining half of the melted butter. Mix again until the batter is smooth and homogeneous. We should have about 400 grams of batter.
Pour this matcha madeleine biscuit batter onto a baking tray lined with a silicone mat...
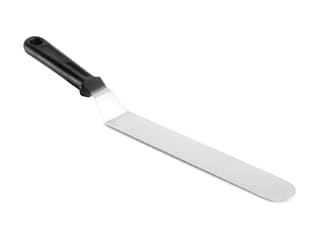
...and spread it with a cranked spatula, ensuring an even thickness, leaving a gap around the border.
Place the tray in a ventilated oven preheated to 180°C and bake for about 10 to 12 minutes, keeping in mind that baking times may vary depending on the oven.
When baking is complete, remove the matcha madeleine biscuit from the oven.
This is what the result should look like.
Slide the silicone mat onto a cooling rack. Set aside.
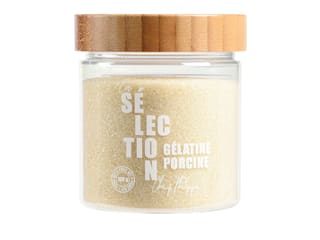
Raspberry insert: Prepare all the ingredients. Mix the powdered gelatin with the hydration water (tap or mineral water) and let it hydrate for 15 minutes.
Pour the raspberry purée and caster sugar into a saucepan.
Add the fresh or frozen raspberries.
Heat the preparation to dissolve the sugar in the purée and start cooking the fresh raspberries. They should begin to break down without cooking excessively.
When the purée is hot and starts to release a bit of steam (without boiling), remove the saucepan from the heat and add the hydrated gelatin.
Stir vigorously to fully incorporate the gelatin, which should melt in the warm preparation.
Pour this raspberry mixture into a mixing bowl and let it cool to room temperature.
When the raspberry mixture is cool (at room temperature, so it doesn't gel), pour the whipping cream into the bowl of the mixer...
...and whip it into whipped cream.
We need to obtain a soft whipped cream. This soft cream will NOT result in a soft insert once it sets. I prefer to mention this just in case you are having doubts at this stage.
Then incorporate half of the cream into the raspberry mixture. The mixture should be at 25 to 30°C maximum.
Mix carefully with a whisk.
Add the remaining whipped cream...
...and continue whisking, but not too quickly—just enough to break up the cream and avoid any large lumps. The mixture should be a uniform colour.
Pour this raspberry mixture into the yule log insert mold, filling it up to the top...
...and smooth it with the offset spatula. As shown in the photo, I placed a spatula in the other mold cavity to prevent it from tipping over due to the weight of the mixture.
Cover the surface with plastic wrap.
Place everything in the freezer.
White chocolate mousse: Prepare all the ingredients. I am using Nuit Blanche white chocolate from Carma (you can use any white chocolate you prefer). Hydrate the powdered gelatin with the hydration water (tap or mineral water) for 15 minutes.
Heat the milk in a saucepan and add half of the Tadoka vanilla bean. If you don't have Tadoka vanilla, you can use half a vanilla pod, split and scraped, added to the milk in the saucepan.
Bring the milk to a boil. The vanilla bean will dissolve, leaving small black specks in the milk.
When the milk is boiling, add the hydrated gelatin...
...and stir energetically to fully incorporate the gelatin into the vanilla-infused milk.
Melt the white chocolate in the microwave in 20- to 30-second intervals, stirring every time. Then pour the hot milk into the melted chocolate and mix until smooth and homogeneous. Set aside.
Place a sheet of parchment paper on top of the matcha madeleine biscuit and flip everything over...
...so that the silicone mat is now on top, as shown in the photo.
Gently peel away the silicone mat. This should be done once the biscuit is cool to avoid any tearing. Before removing the mat entirely, detach the edges first.
Measure your mold. The one used for this recipe is 25cm long and 5cm wide.
I'll use the narrowest width due to the uneven edges (the shape of the Séquoia silicone mold is irregular).
Trim the biscuit using a graduated ruler and a knife.
Cut a strip of biscuit to a width of 5cm. To do this, start by marking the first line with the knife's tip... then a second line...
...then cut the biscuit.
Trim one end of the biscuit and cut the other end to 25cm, matching the length of your mold. Any biscuit scraps can be kept in plastic wrap and frozen for future use. If you're using a different mold, adjust the biscuit size accordingly.
White chocolate mousse (continued): Whip the whipping cream into soft peaks...
...ensuring it forms a soft whipped cream (this will not alter the texture of the white chocolate mousse once set)...
...like this.
Once the white chocolate mixture has cooled (to about 30°C)...
...add half of the whipped cream...
...and whisk until homogeneous.
Then add the remaining whipped cream...
...and gently fold it in with the whisk, being careful not to overwork the mixture.
Pour the white chocolate mousse into the Séquoia silicone mold, filling it halfway. As you can see in the photo, the mousse is pretty fluid, which is great for filling all the details of the mold and avoid air bubbles. If your whipped cream is too firm, the mousse will also be firmer, making it harder to mold.
Remove the raspberry insert mold from the freezer, take off the plastic wrap, and release the raspberry insert...
...onto a cutting board. If you're careful, you can remove the mold without damaging it, allowing you to reuse it (note: wash it in warm soapy water, not in the dishwasher).
This is what the raspberry insert should look like.
Cut one end to create a length of 24cm (1cm shorter than the mold).
Place the insert into the centre of the silicone mold and press it down slightly with your fingers (rounded side down, flat side up).
Cover the insert with the remaining white chocolate mousse.
Place the matcha madeleine biscuit directly onto the white chocolate mousse, ensuring it is in contact with the mousse. Smooth the edges with a spatula.
Cover everything with cling film...
...wrapping it carefully.
Place the mold in the freezer. This recipe can be made up to this step several days in advance. The finishing touches can be done the day before or on the day.
Finish: Take the silicone mould out of the freezer and remove the plastic wrap.
Loosen the sides of the mould to facilitate the release.
Flip the mould and peel the silicone away to release the yule log. It should be fully frozen for optimal results. This operation should be done immediately after taking the mould out of the freezer.
Place the frozen yule log on a baking tray covered with plastic wrap. This tray can be set on a rotating turntable for an easier coating operation.
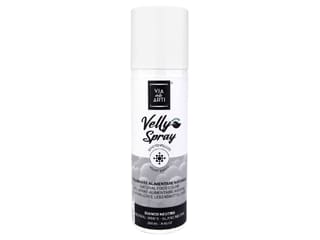
Take the white velvet effect spray and shake it until you can hear the balls inside the bottle.
Spray the surface of the yule log from a distance of 30 to 40cm, spinning the turntable to ensure all sides are evenly coated with white velvet.
The cake should be frozen through for this operation.
Carefully lift the yule log using two offset spatulas...
...and transfer it onto the serving platter.
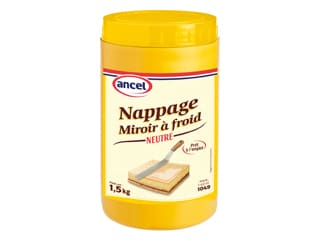
Pipe a thin line of neutral mirror glaze using a decorating cone into the deepest grooves...
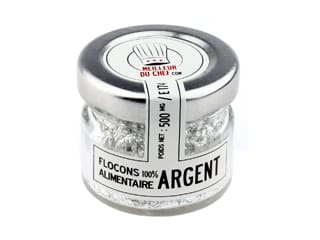
...and sprinkle silver flakes over the glaze, which will act as glue.
Continue this process along the entire length of the yule log.
Note: If you're not using mirror glaze, the silver flakes won't stick to the velvet coating. This is a precise and somewhat time-consuming task, but the result is truly stunning!
Here is our finished Christmas yule log. Refrigerate for 4 to 5 hours before serving. Enjoy!
When using a white velvet effect spray, it is best that the dessert being sprayed is white, meaning it should be made of a light-coloured mousse. If you attempt to spray a dark chocolate mousse, for instance, you will see through the coating that the base is brown, as the neutral velvet spray will not fully cover the dessert.
Please login to post a review