You can always send us your messages, comments or suggestions.
In one click, store and find all your favourite recipes.
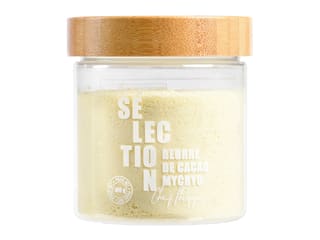
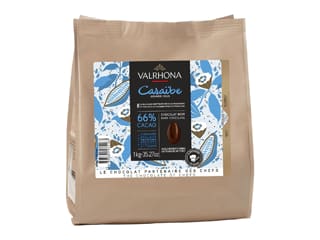
Add this recipe >Before starting this Chocolate Cup recipe, organise all the necessary ingredients. We're to temper our dark chocolate following the method with Mycryo cocoa butter. You will need 1% of the total weight of chocolate used in Mycryo cocoa butter.
Melt the dark chocolate in the microwave, stirring every 30 seconds to make sure the chocolate doesn't burn.
Continue the melting process until the temperature reaches 45°C to 50°C. Make the chocolate doesn't exceed 50°C. The use of a laser thermometer is recommended for this operation.
Stir the chocolate constantly with a rubber spatula until the temperature goes down to 35°C.
Add the Mycryo cocoa butter.
Combine gently with a spatula until the Mycryo cocoa butter is completely melted. Then continue stirring until the temperature goes down to 31°C.
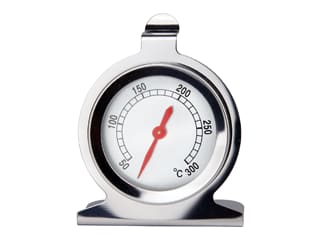
When the chocolate is at 31°C, it is ready for use. The chocolate should be kept at that same temperature the whole time you're using it: in a bain-marie or in a melting machine...). You can also leave the chocolate in an oven preheated to 30°C. I recommend using an oven thermometer to monitor the temperature.
Pour the tempered chocolate in the 3D chocolate cup mould and fill up to the top.
If for some reason you don't have enough chocolate to fill the cavity completely, rotate the mould in your hands so the chocolate reaches the rim of the cavity.
Flip the mould over the bowl to let the excess chocolate drip off.
Tap the sides of the mould with a chocolate spatula.
Scrape the surface of the mould with the spatula for an even result. Make sure you keep the leftover chocolate at a temperature of 31°C.
Place the mould on a sheet of greaseproof paper and leave to crystallize. Crystallization time depends on the room temperature. Ideally, leave to set in a cool or air-conditioned room. The cooler the room, the faster the crystallization process will be. If the tempering was done correctly, this will also ensure better crystallization results.
When the chocolate has crystallized, fill the cavity with tempered chocolate again (as in step 8). Two layers of chocolate will ensure the cup is solid enough not to break when we release it from the mould. The larger the chocolate piece, the thicker it should be.
Rotate the mould so the whole surface of the cavity is coated with chocolate.
Flip the mould over the chocolate bowl...
... and tap the sides of the mould with the spatula to let the excess chocolate drip off.
Scrape the surface of the mould with the spatula for a perfectly neat result. Place the mould on a sheet of greaseproof paper and leave to crystallize. This could take several hours (don't try to speed up this important process). And please do not place the mould in the fridge!
When the chocolate has crystallized, scrape the surface of the mould again.
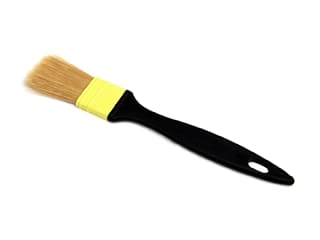
Use a pastry brush to remove any chocolate shavings on the surface.
Flip the mould tap it gently on your workbench to release the chocolate cup.
Separate the two parts attached by a magnet. The chocolate cup should come off easily. Just before separating both parts of the mould and by looking at the see-through material, you should tell whether the chocolate has detached from the mould.
The chocolate cup is ready.
The chocolate should be smooth and glossy. Enjoy!
The tempered chocolate excess can be reused later for another recipe, or incorporated in a chocolate cake preparation.
Please login to post a review