
















Cookies 🍪
By clicking "Accept", you authorize Meilleur du Chef to store cookies on your device to personalize site content, analyze our traffic, and provide social media functionality.


Favourites


In one click, store and find all your favourite recipes.
Add this recipe >
Soft almond sponge: To make these Christmas baubles with almond, morello cherry & spices, start by preparing all the ingredients for the soft almond sponge.

Place the butter in a saucepan and melt over low heat.

Once the butter is completely melted, remove it from the heat and leave to cool at room temperature.

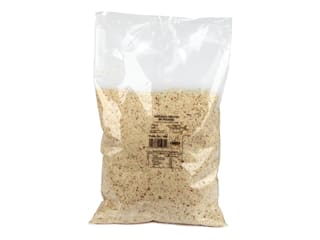
Pour the almond powder into a mixing bowl. The almond powder can be whole or blanched, it makes no difference.

Add the icing sugar...

...as well as the flour...

...and the baking powder.

Mix all these dry ingredients together.

Add the whole eggs...

...and the egg yolks.

Whisk vigorously with a whisk.

Then add the cooled melted butter...

...and whisk until fully incorporated.

Pour the egg whites and caster sugar into a container...

...and whip them with an electric mixer.

We need to obtain stiff egg whites, as shown here in the photo.

Pour these whipped egg whites into the bowl, over the preparation...

...and fold in gently with a spatula...

...until smooth and homogeneous.

Transfer this batter onto a perforated baking sheet lined with a sheet of greaseproof paper...

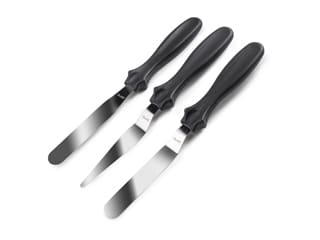
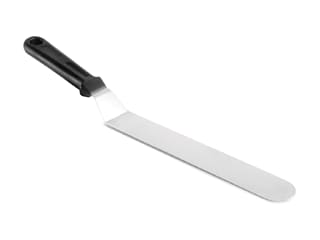
...and spread it over the entire surface in a thin, even layer using a large cranked metallic spatula.

Bake in a preheated fan-assisted oven at 170°C for about 12 minutes (this baking time may vary from one oven to another).

After baking, remove the soft almond sponge from the oven...

...and leave to cool at room temperature. The sponge should be lightly golden on the surface.

Spiced morello cherry confit: Prepare all the ingredients.

Weigh the glucose syrup directly into the saucepan.

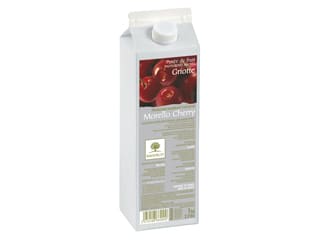
Add the morello cherry puree and heat over medium heat.

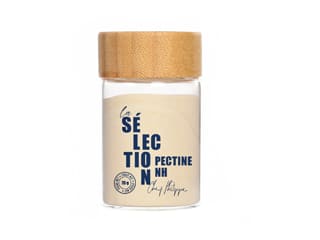
Pour the caster sugar over the NH coating pectin...

...and mix these ingredients well together to prevent lumps from forming.

When the morello cherry puree reaches almost 40°C...

...add the pectin and sugar mixture while whisking to prevent lumps.

Bring to a boil and maintain a boil for 1 minute, continuing to whisk. This cooking time is necessary to activate the properties of the pectin.

Then stop cooking and add the lemon juice as well as the ground cinnamon and ground star anise. Finish by blending everything with a hand blender until smooth and homogeneous.

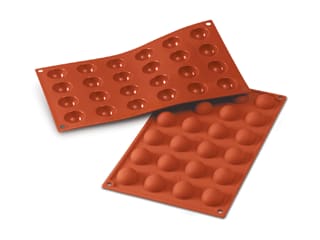
Transfer this spiced morello cherry confit into a 24 half-sphere silicone mould. We need 8 half-spheres of morello cherry confit, but I made 12 to be safe.

Cover directly with cling film...

...and place in the freezer.

Almond and speculoos praline crunch: Prepare all the ingredients.

Place the almonds on a baking sheet lined with a sheet of greaseproof paper...

...and toast them in a preheated fan-assisted oven at 150°C for 10 to 15 minutes.

Once the almonds are toasted and cooled, chop them with a knife into medium-sized pieces.

Place the Dulcey blond chocolate in a mixing bowl...

...and melt it in the microwave in 20 to 30 second intervals, stirring every time so it does not burn.

Add the almond hazelnut praline as well as the speculoos spread to the melted Dulcey blond chocolate...

...and mix with a spatula.

Add the fleur de sel...

...as well as the pailleté feuilletine flakes...

...and the chopped toasted almonds.

Mix carefully with the spatula until homogeneous...

...as shown in the photo.

Crunchy sponge base: Once the sponge has cooled, cover it with a sheet of greaseproof paper...

...and flip it over while holding everything together as a single unit.

Then gently peel off the baking paper on which the sponge was cooked.

Place the almond and speculoos praline crunch on top of the sponge...

...and spread it in a thin layer over half of the soft almond sponge. The other half of the sponge can be protected with cling film and kept in the freezer for later use.

We want a thin, even layer of almond and speculoos praline crunch, as shown here in the photo.

Take a plain round cutter Ø 4cm...

...and cut out discs of crunchy sponge biscuit. We will need 8 of them, but I made 10 to be safe.

Arrange these crunchy sponge discs on a baking sheet lined with a sheet of greaseproof paper. Place in the fridge.

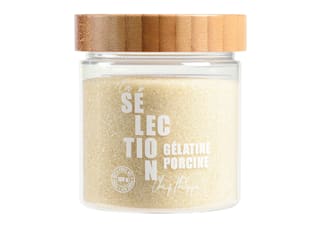
Honey and gingerbread crémeux: Prepare all the ingredients. Mix the powdered gelatine with the hydration water (tap water or mineral water) and leave to hydrate for 15 minutes.

Pour the milk and whipping cream into a saucepan.

Add the honey as well and heat over medium heat.

Meanwhile, pour the egg yolks and caster sugar into a mixing bowl, and whisk until pale.

Once boiling, pour the cream and milk over the pale egg yolks and sugar, and mix thoroughly.

Then pour everything back into the saucepan used to boil the milk and cream.

Cook until it is thick enough to coat the back of a spoon like a crème anglaise, stirring constantly with a spatula in 8-shaped motions at the bottom of the saucepan, without exceeding 82°C.

When cooked, the cream should coat the spatula.

Remove the saucepan from the heat and add the hydrated gelatine to the warm cream...

...and mix thoroughly until fully incorporated.

Place the white chocolate buttons in a container and pour the warm cream over them.

Add the gingerbread spice mix...

...and blend everything with a hand blender until homogeneous.

Transfer the resulting honey and gingerbread crémeux into a food container in a thin layer for optimal cooling at room temperature.

Insert: When the honey and gingerbread crémeux starts to set, it will become thicker. At this stage the consistency of the crémeux is still too fluid.

Then transfer the crémeux into a piping bag. Using a nozzle is not necessary.

Pipe a dollop of preparation into the cavities of a half-sphere silicone mould Ø 4cm.

Remove the mould containing the spiced morello cherry confit from the freezer. Release the confit half-spheres and place them into the mould cavities, burying them into the honey and gingerbread crémeux (rounded side down). The half-spheres should not sink, which is why we want a crémeux that is only partially set.

This is what the result should look like.

Smooth the surface with the cranked metallic spatula.

Remove the crunchy sponge discs from the fridge and place them into the silicone mould cavities, crunch side in direct contact with the honey and gingerbread crémeux.

Place in the freezer.

Light vanilla mousse: Prepare all the ingredients. Hydrate the powdered gelatine in the hydration water for 15 minutes. Do not rely on the quantities in the photo; on that day I made a lot of desserts.

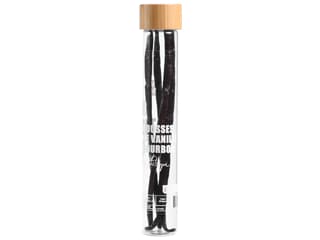
Split the vanilla pod in half lengthwise with a knife and scrape the inside of the pod to remove the seeds.

Pour the milk into a saucepan and add the split vanilla pod along with the seeds. Heat this mixture over medium heat.

Pour the egg yolk into a mixing bowl...

...and add the caster sugar.

Whisk until pale.

When the milk comes to a boil...

...pour it over the pale egg yolk and sugar while whisking.

Once the mixture is homogeneous, pour it back into the saucepan used to boil the milk.

Cook until the consistency is thick enough to coat the back of a spoon, like a crème anglaise, without exceeding 82°C. Cooking must be slow, stirring regularly with a spatula forming 8-shaped motions at the bottom of the saucepan to avoid scrambled eggs. When the cream is cooked, add the hydrated gelatine and stir vigorously to distribute it evenly throughout the preparation.

Pour the hot cream over the white chocolate pellets previously placed in a container.

Then blend everything using a hand blender until homogeneous.

Transfer this preparation into a food container in a thin layer for quick cooling (do not refrigerate).

Pour the whipping cream into the mixer bowl and beat into whipped cream.

We want a soft whipped cream that still holds its shape, to prevent the insert from sinking in the mould.

Our whipped cream is now ready.

Pour the cream base into a mixing bowl.

Add half of the whipped cream to the bowl...

...and mix quickly with a whisk.

Add the remaining whipped cream...

...and fold in gently to make sure the preparation doesn't collapse.

You can give a few quick whisks to break up any remaining lumps of whipped cream.

Our light vanilla mousse is now ready.

Assembly: Transfer the light vanilla mousse into a piping bag (no nozzle). If the mousse is too liquid at this stage, you can place the piping bag in the fridge for 30 minutes to firm up before assembling.

Take the truffle silicone mould Ø 6.2cm and remove the half-sphere mould from the freezer.

Pipe the light vanilla mousse into the 8 cavities of the truffle silicone mould.

Once the mousse is partially set, bury the inserts a little with the sponge side facing up. It is important that the insert doesn't sink and that the sponge stays flush with the surface. If the mousse is too liquid, the insert will sink to the bottom of the cavity.

Smooth the surface with the cranked metallic spatula.

Cover directly with cling film and place in the freezer. This recipe can be made up to this step several days or weeks in advance.

Flocking: Remove the silicone mould from the freezer and peel off the cling film.

Release the spheres by grabbing the silicone edge with your fingernail to loosen them before pressing under the mould. For optimal results, the desserts must be frozen through. This operation must be done quickly to avoid warming the sphere with the heat of your palm.

Place the Christmas baubles on a baking sheet lined with cling film. Place this sheet on a turntable to facilitate the coating process.

To create different finishes, I divided the desserts by putting 6 spheres on one sheet and 2 on another, making 6 white Christmas baubles and 2 red ones.

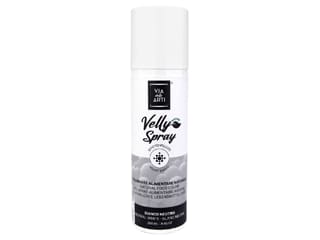
Take the white velvet spray colouring and shake it well before use until the ball inside rattles (a sign that the colour is homogeneous and ready to use). Do a test spray on a piece of paper.

Spray the velvet icing 30 to 40cm away from the desserts...

...while rotating the turntable. Spray in short bursts to get a light veil over the entire surface of the spheres. It is important to apply a thin layer to prevent the velvet coating from cracking during defrosting.

Now take the red velvet spray and repeat the operation.

Spray the red icing...

...while rotating the tray...

...until both baubles are completely red.

Snowflake decorations: Prepare all the ingredients for the tuile batter.

Pour the egg white into a mixing bowl.

Add the caster sugar...

...as well as the flour...

...and whisk...

...until smooth and homogeneous.

Add the cold milk...

...and mix again until smooth.

Take the snowflake silicone stencil and grease with an oil spray. Then spread the grease with a pastry brush inside the cavities.

Spoon about a tablespoon of tuile batter over the cavities...

...and spread it with a mini offset spatula so the mixture fills the cavities completely, without air bubbles.

Scrape off the excess using a large offset spatula, over the surface of the silicone mat to get a perfectly smooth result with clean flat edges...

...as shown in the photo.

Bake in a preheated fan-assisted oven at 160°C for 4 to 5 minutes, until the lace details are lightly golden.

After baking, remove the sheet from the oven.

This is what the result should look like.

Flip the silicone mat onto a sheet of greaseproof paper...

...and release the snowflakes right away. This operation must be done while the tuiles are hot. If you let it cool down, the tuiles will become hard and brittle. Use a mini spatula to unmould the tuile as you peel back the silicone mat. They should come off easily.

Finish: Gently arrange the snowflake decorations on top of the Christmas baubles.

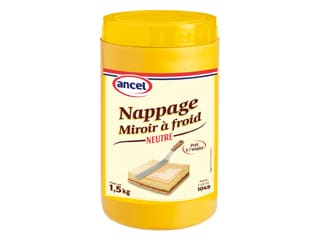
Using a decorating paper cone, pipe a drop of neutral mirror glaze in the centre of the spheres...

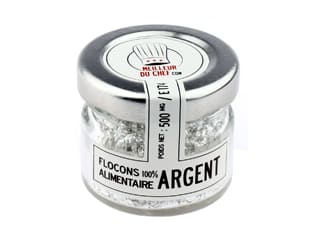
...and place a silver flake on top.

Repeat the operation with the red Christmas baubles and arrange a snowflake tuile on top...

...as well as a drop of neutral mirror glaze...

...and finish with a silver flake. Our Christmas bauble desserts are now done. Allow 2 to 3 hours for defrosting in the fridge before serving.
I recommend placing the tuile decorations at the very last minute to prevent them from becoming soft and soggy in the fridge. Store the snowflakes at room temperature in an airtight box.
Enjoy!
Please login to post a review