













Cookies 🍪
By clicking "Accept", you authorize Meilleur du Chef to store cookies on your device to personalize site content, analyze our traffic, and provide social media functionality.


Favourites


In one click, store and find all your favourite recipes.
Add this recipe >
Red berry insert: To make this Snowman yule log with red berries, chocolate crémeux & light vanilla, start by preparing all the ingredients for the red berry insert.

Place the fruit purees in a saucepan and heat over medium heat.

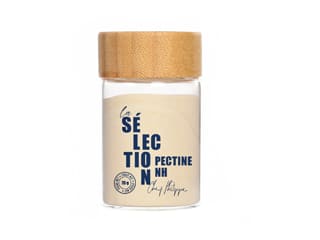
Pour the caster sugar over the NH coating pectin...

...and blend these two powders together. This will avoid lumps in the red berry insert.

When the fruit mixture is warm, around 40°C, add the fresh raspberries...

...as well as the pectin and caster sugar mixture while whisking, again to prevent lumps from forming.

Bring everything to a boil, continuing to whisk. Maintain a boil for 1 minute to activate the properties of the pectin.

When cooked, remove the saucepan from the heat and add the lemon juice. Whisk.

Take the insert mould...

...and pour the red berry mixture into it. Make sure you use all of the fruit preparation. Place in the freezer.

Chocolate crémeux: Prepare all the ingredients.

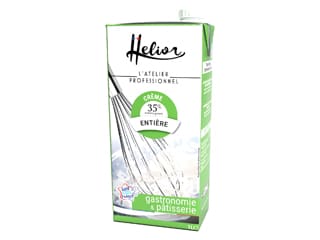
Pour the whipping cream into a saucepan...

...and add the whole milk. Bring to a boil.

Pour the egg yolks and caster sugar into a mixing bowl...

...and blanch for 1 minute.

When the cream and milk come to a boil...

...pour them over the pale egg yolks and sugar while whisking.

Then pour this mixture back into the saucepan used to boil the milk and cream...

...and cook 'à la nappe' without exceeding 82°C, stirring regularly with a spatule. Using a probe thermometer is recommended to avoid scrambled eggs.

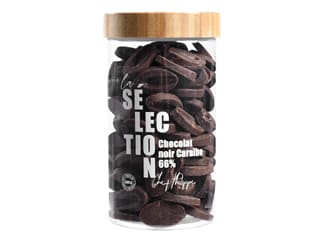
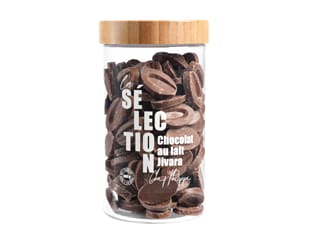
Once the cream is cooked, pour it over the dark chocolate feves in a mixing bowl.

Let the dark chocolate sit for 1 minute to allow it to begin melting on contact with the hot cream.

Then blend everything with a hand blender...

...until a smooth and homogeneous mixture is obtained.

Transfer the resulting chocolate crémeux into a piping bag. Using a nozzle is not necessary here.

Pipe this crémeux into the log insert mould, directly over the frozen red berry insert.

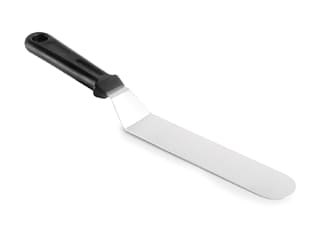
Smooth the surface of the mould using an offset spatula...

...and cover with cling film in direct contact with the surface.

Place in the freezer. This insert can be prepared several days in advance.

Soft chocolate-hazelnut sponge: Prepare all the ingredients.

Melt the chocolate with the butter in a saucepan over very low heat...

...while stirring with a spatula to combine these two elements well.

Pour the egg yolks into a mixing bowl...

...and add the caster sugar.

Whisk until pale.

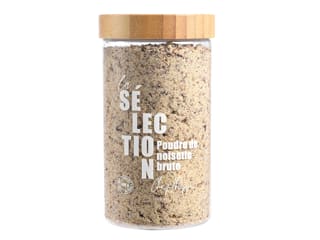
Add the hazelnut powder and the fleur de sel.

Whisk again.

Pour the flour into a fine sieve over the mixing bowl...

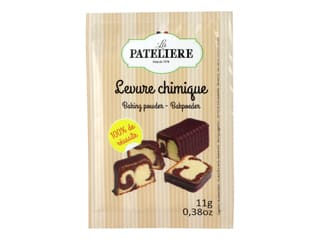
...as well as the baking powder to sift these two ingredients together.

Sift in the cocoa powder as well...

...and mix quickly with the whisk until thick and homogeneous.

Then add the previously melted chocolate and butter...

...and mix carefully with the spatula...

...until smooth and homogeneous.

Pour the egg whites into a mixing bowl and whip them to stiff peaks using a hand blender.

We want to obtain stiff egg whites.

Add half of these whipped egg whites to the chocolate mixture...

...and whisk vigorously to soften the mixture.

Then add the remaining egg whites...

...and gently fold in with a spatula...

...until smooth and homogeneous.

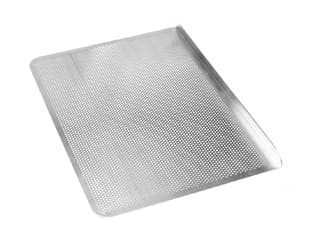
Place a silicone baking mat on a perforated baking sheet, and grease the silicone mat using an oil spray.

Spread the oil with a paper towel to remove the excess.

Transfer the soft chocolate and hazelnut sponge batter onto the silicone mat...

...and spread it with the offset spatula to an even thickness of 0.5cm for homogeneous baking.

Bake in a preheated fan-assisted oven at 160°C for 6 to 8 minutes (baking time may vary depending on your oven).

When cooked, remove from the oven...

...and leave the soft chocolate and hazelnut sponge to cool at room temperature.

Praline crunch: Prepare all the ingredients.

Melt the milk chocolate in the microwave in 20 to 30 second intervals, stirring every time so it does not burn.

Add the hazelnut praline to the melted chocolate...

...and mix vigorously with a spatula.

Add the pailleté feuilletine flakes as well as the chopped hazelnuts and fleur de sel...

...and mix thoroughly with the spatula until homogeneous. Set aside.

Take the Frosty silicone yule log mould...

...and cover it with a sheet of parchment paper. Using a soft lead pencil, trace around the edges of the mould to transfer its outline onto the paper.

As you trace around the mould, its shape will gradually appear on the paper.

Once the outline is visible, re-draw the contour freehand with the pencil. The drawing doesn't need to be perfect.

Then cut out the drawn shape using a pair of scissors, first making a wide cut...

...and then trimming along the drawn line...

...until you get something that looks like this.

Check that the cut parchment paper roughly matches the shape of the mould.

Place the cut parchment paper over the soft sponge...

...and cut it out with the tip of a knife following the shape of the paper template.

Remove the parchment paper template...

...and remove the excess sponge. We obtain the biscuit base for our yule log.

Cover the sponge base with a second sheet of parchment paper...

...and flip the assembly over onto the work surface.

Peel away the paper used during baking. It is crucial to flip the base of the log over to continue the recipe, so that the sponge faces the correct direction during assembly. If you do not perform steps 76, 77, and 78, you will run into an issue at the end of this recipe.

Take the praline crunch and pour it onto the sponge.

Spread the crunch over the entire surface of the chocolate-hazelnut base in a thin, even layer.

Place in the fridge or freezer.

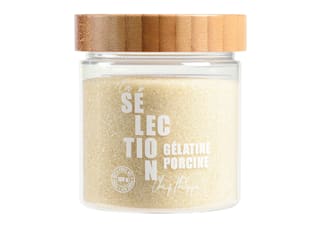
Light vanilla mousse: Prepare all the ingredients. Mix the powdered gelatine with the hydration water (tap water or mineral water) and leave to hydrate for 15 minutes.

Pour the milk into a saucepan and heat over medium heat.

Add the Tadoka vanilla pod.

The vanilla will melt gradually and tint the milk slightly brown. This will not affect the final colour of the mousse.

When the Tadoka vanilla pod is fully melted and the milk comes to a boil, remove the saucepan from the heat.

Pour the egg yolks and caster sugar into a mixing bowl...

...and whisk until pale.

Pour the boiling milk over the blanched mixture while whisking.

Then pour everything back into the milk saucepan and cook until it coats the back of a spoon, reaching a maximum temperature of 82°C. Stir constantly with a spatula during cooking, making 8-shaped motions at the bottom of the saucepan.

Once the cream is cooked, remove the saucepan from the heat and add the hydrated gelatine to the boiling preparation. Stir vigorously.

Transfer this mixture into a food container...

...and leave to cool at room temperature.

Pour the whipping cream into the bowl of the stand mixer...

...and whip it into whipped cream.

We want a firm whipped cream.

Pour the vanilla cream base (room temperature) into a container...

...and blend with a hand blender to obtain a very smooth mixture.

Add half of the whipped cream...

...and whisk quickly to pre-mix.

At this stage, the mixture should read a maximum of 25°C. This initial mix brings down the temperature of the preparation.

Add the remaining whipped cream...

...and fold in gently with a spatula, taking care not to flatten the mixture.

Assembly: Remove the insert mould from the freezer and pull the edges apart to facilitate the release.

Flip the mould over and apply gentle pressure on the bottom to release the insert.

Trim the end of the insert with a knife to ensure a clean finish.

Place the yule log mould next to the insert and cut the insert to match the length of the mould (minus 2 cm so the insert fits perfectly inside the mould).

Fill the bottom of the silicone mould halfway up with the light vanilla mousse...

...and tap the mould on the work surface to get rid of any air bubbles (air bubbles will result in imperfections on the surface).

Take the frozen insert and place it into the mould, rounded side down in direct contact with the mousse, flat side facing up...

...and press it gently down into the mousse, as shown here in the photo.

Fill the rest of the mould with the mousse.

Then finish the assembly with the sponge base, crunch side facing down in direct contact with the cream (sponge side facing up). This is where you will run into trouble if steps 76, 77, and 78 were not followed. If you made a mistake, you must flip it so the sponge side touches the mousse.

Press the base gently into the mousse using your fingertips. It should lie flush with the rim of the mould.

Smooth the surface of the mould using the offset spatula.

Cover directly with cling film and place in the freezer. This recipe can be prepared up to this step several days, or even several weeks in advance.

Finish: Remove the log from the freezer and peel back the sides of the mould to facilitate unmoulding.

Then detach the mould completely to release the yule log. For optimal results, the dessert must be frozen through. If your freezer has a "booster" or "super freeze" function, do not hesitate to activate it 24 to 48 hours before this step.

Place the log on a baking sheet lined with cling film. Then place everything on a turntable to facilitate the coating process.

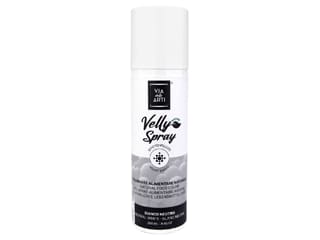
Take the white velvet spray colouring and shake it vigorously until you hear the ball rattling inside.

Spray the velvet coating onto the surface of the log from a distance of 30 to 40 cm...

...while rotating the turntable to cover the entire surface of the yule log. Spray a light veil of velvet coating.

This is what the result should look like.

Lift the yule log using two large offset spatulas...

...and transfer on a serving platter. The Snowman Yule Log with red berries, chocolate crémeux & light vanilla is now done. Allow 4 to 5 hours in the fridge for the yule log to defrost completely.
Enjoy!

To avoid wasting your leftover Ravifruit fruit purées, I recommend pouring them into silicone half-sphere moulds before freezing. You will end up with small portions that can be stored in an airtight container and used whenever you need.
Please login to post a review