


Cookies 🍪
By clicking "Accept", you authorize Meilleur du Chef to store cookies on your device to personalize site content, analyze our traffic, and provide social media functionality.
Favourites


In one click, store and find all your favourite recipes.
Add this recipe >
To make these raspberry, vanilla, and chocolate individual entremets, start by preparing all the ingredients for the cocoa shortcrust pastry.

Cocoa shortcrust pastry: Pour the flour into the stand mixer bowl.

Add the icing sugar...

...the baking powder...

...the vanilla powder...

...the fine salt...

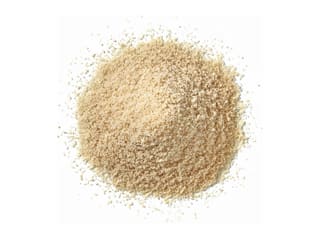
...as well as the almond powder...

...and the cocoa powder. All the dry ingredients are in the bowl.

Then add the previously beaten and weighed egg...

...and the butter at room temperature.

Knead all these ingredients together using the paddle attachment of the mixer.

At first, we obtain a sandy texture...

...which will eventually become a dough.

Transfer the resulting cocoa shortcrust pastry onto a sheet of greaseproof paper.

Cover this dough with a second sheet of greaseproof paper...

...and roll it out with a rolling pin.

You can use levelling guides to obtain an even thickness of 3mm.

Let this cocoa shortcrust pastry rest in the fridge. It can be made the day before or 1 to 2 hours before baking.

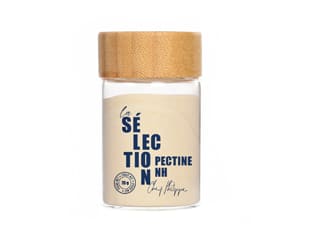
Raspberry confit: Pour the raspberry purée into a saucepan along with the large amount of caster sugar. Mix the pectin NH coating with the small amount of sugar, and when the purée begins to heat up, incorporate this pre-mixture.

Bring the preparation to a boil and maintain it for at least 1 minute, whisking constantly, to activate the properties of the pectin.

Transfer the raspberry confit into a food container.

Cover the raspberry confit with cling film directly on the surface and let it cool to room temperature before placing it in the fridge.

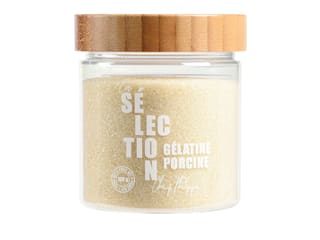
Vanilla crémeux (make the day before): Prepare all the ingredients. Mix the powdered gelatine with the hydration water (tap or mineral water) and let it hydrate for 15 minutes.

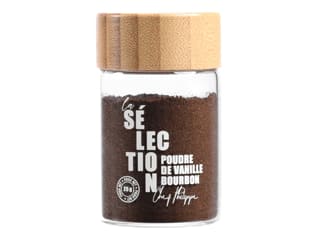
Here we are going to use the Tadoka vanilla bean. We will need 3 g of vanilla.

Pour the whole milk into a saucepan. Add the Tadoka vanilla bean, which will melt and disperse into the milk as it heats up.

Add the dehydrated glucose and mix thoroughly. Bring everything to a boil.

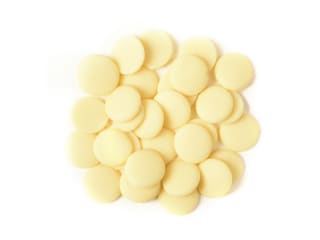
Pour the boiling milk over the white chocolate previously melted in the microwave, as we did earlier with the milk chocolate...

...and mix with a maryse spatula to form an emulsion.

When the preparation is homogeneous, add the hydrated gelatine (previously melted in the microwave) while mixing with the spatula.

Add the cold whipping cream and mix using a hand blender until smooth and homogeneous.

Cover the vanilla cremeux with cling film directly on the surface and place in the fridge. This preparation must be made the day before.

When the cocoa shortcrust pastry is very cold, take it out of the fridge...

...and remove the top sheet of greaseproof paper.

Then place this sheet back upside down on the dough...

...flip everything over and remove the second sheet of greaseproof paper. We have loosened both sheets of paper to release the dough.

Cut out discs of cocoa shortcrust pastry using a cutter. Here I am using a plain round cutter Ø 6cm.

We obtain a cocoa shortcrust pastry disc with a thickness of 3mm.

Continue cutting the dough to obtain 12 cocoa shortcrust pastry discs. You can make about fifteen in case of breakage during the assembly of the entremets.

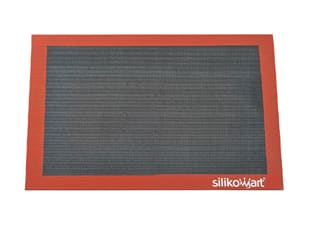
Place these discs on a baking tray covered with a baking mat.

Cover the dough with a second silicone mat to sandwich the cocoa shortcrust pastry discs. Then bake in a fan-assisted oven, preheated to 170°C, for 12 to 15 minutes. This cooking time may vary from one oven to another.

After baking, remove the cocoa biscuit discs from the oven and let them cool to room temperature before removing the top silicone mat. If the mat is removed while hot, the biscuits risk being damaged.

Moist chocolate sponge: Prepare all the ingredients.

Pour the egg yolks into the stand mixer bowl.

Add the whole eggs...

...as well as the large amount of caster sugar...

...and mix these elements with the whisk attachment to obtain a homogeneous preparation, without letting it rise.

Pour the egg whites into a second bowl...

...and begin to whisk them.

When they become foamy, add the small amount of caster sugar and continue whipping...

...until you obtain a supple meringue that forms a "bird's beak".

Sift the cocoa powder through a fine strainer onto a sheet of greaseproof paper.

Repeat the operation with the flour.

Add half of the meringue to the egg and sugar mixture...

...and incorporate it gently using the whisk.

Pour the sifted powders over the resulting preparation...

...and mix gently, still using the whisk.

Add the remaining meringue...

...and mix gently...

...until smooth and homogeneous.

Place a silicone mat on a perforated aluminium baking tray. Depending on the silicone mat you use, you can grease it with an oil spray to release the sponge more easily.

Pour the moist chocolate sponge batter onto the baking mat. The amount of batter is tailored for a 40 x 30cm tray.

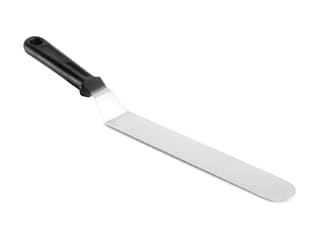
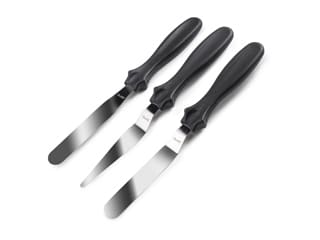
Using a cranked metal spatula, spread this chocolate batter over the entire surface of the tray to an even thickness.

The batter can be spread right to the edges, even if it slightly overlaps the baking mat, as shown here in the photo.

Bake the tray in a fan-assisted oven, preheated to 170°C, for 10 to 12 minutes depending on the oven. Avoid cooking it too quickly.

After baking, take the tray out of the oven...

...and place it on the work surface.

Then transfer the sponge to a cooling rack for optimal cooling. To do this, lift the silicone baking mat with the tip of a knife...

...and grab the mat with your fingertips...

...to slide it onto the rack. Let cool at room temperature.

Once the sponge has cooled, flip it over onto a sheet of greaseproof paper...

...and gently peel off the silicone mat, which should come away very easily.

Cut out 12 moist chocolate sponge discs using a mousse ring. Set aside. You will have extra sponge; however, it is difficult to reduce quantities if you want to achieve the right texture. The excess sponge can be frozen for later use.

Take the raspberry confit out of the fridge and transfer it to a mixing bowl.

Mix quickly with a whisk until a smooth and homogeneous preparation is obtained.

Pour the raspberry confit into a piping bag. Here, using a nozzle will not be necessary. Set aside.

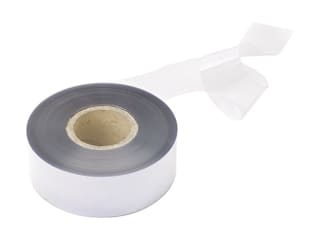
Arrange 12 mousse rings (Ø 5cm, height 3cm) on a baking tray covered with greaseproof paper. Then line the inside of each ring with a piece of acetate roll, which will make unmoulding the entremets easier. This step is very important, otherwise unmoulding will be more complicated.

Place a moist chocolate sponge disc at the bottom of a ring.

Repeat the operation for all the stainless steel rings.

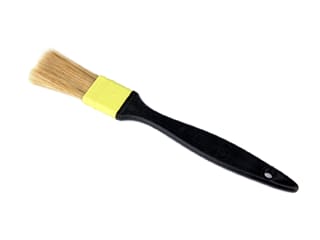
Soaking syrup: Mix the cane sugar syrup with the dark rum, and soak the moist chocolate sponges with this syrup using a pastry brush.

Pour the raspberry confit over the moist chocolate discs until the rings are halfway full.

Take the vanilla crémeux out of the fridge and pour it into the stand mixer bowl.

Whip the crémeux with the whisk attachment for a few moments...

...until it becomes creamy. Be careful not to over-whip it to avoid a texture that is too firm.

Transfer this vanilla crémeux into a piping bag (no nozzle).

Pipe the vanilla crémeux into each ring, directly in contact with the raspberry confit.

Smooth the surface using a mini cranked spatula to level it with the top of the rings.

Cover with cling film directly on the surface and place in the freezer. These inserts can be made several days in advance.

Dark chocolate mousse: Prepare all the ingredients.

Pour the whole milk into a saucepan and add the caster sugar.

Also add the glucose syrup and bring to a boil.

Pour this boiling preparation over the dark chocolate pistoles.

Mix thoroughly using a whisk...

...until smooth and homogeneous.

Whip the cream into a whipped cream using an electric mixer. We should obtain a soft whipped cream.

Pour half of this whipped cream onto the chocolate preparation...

...and mix gently with the whisk.

Then add the other half of the whipped cream...

...and incorporate it gently using a maryse spatula...

...until our dark chocolate mousse is homogeneous. Once ready, the mousse must be used immediately to prevent it from crystallising.

Transfer the resulting mousse into a piping bag (no nozzle).

Pipe the dark chocolate mousse into the cavities of the cylinder silicone mould, filling them halfway and ensuring the mousse reaches the bottom of the cavities.

Bring the preparation up the sides with the mini spatula to avoid air bubbles.

Release the inserts...

...and remove the acetate strips, which allowed for a perfectly clean result.

We achieve this result.

Place an insert into a cavity of the silicone mould, directly in contact with the dark chocolate mousse, positioning the sponge at the bottom and the vanilla crémeux at the top.

Press the insert down with your fingertips to make the mousse rise up the sides.

Add a little more dark chocolate mousse to seal the cavity...

...and smooth the surface with the cranked spatula.

Then place a cocoa shortcrust pastry disc in contact with the mousse. Press lightly so it adheres to the chocolate mousse.

Repeat the operation for all the cavities in the silicone mould.

Cover with cling film directly on the surface and place in the freezer. This recipe can be made up to this stage several days in advance.

On the day of serving, take the silicone mould out of the freezer, remove the cling film, and release the entremets by pushing them from underneath.

This is what the result should look like.

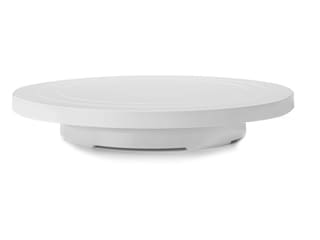
Place the entremets on a baking tray covered with cling film. This tray should be placed on a turntable to facilitate the spraying.

Spray the entremets with the red velvet effect spray...

...over their entire surface, as shown in the photo.

Transfer the entremets to another tray covered with a sheet of greaseproof paper, using two cranked spatulas for help.

Raspberry jelly: Prepare all the ingredients. Mix the powdered gelatine with the hydration water and let it hydrate for 15 minutes. Then pour the fresh raspberries into the blender...

...and mix until you get a homogeneous purée. Here, I will use fresh raspberries in addition to the raspberry purée to have seeds in my raspberry jelly. If you do not want the crunch of the seeds, you can make the jelly using only raspberry purée.

Pour the raspberry purée into a saucepan.

Add the caster sugar and heat.

Here is our hydrated gelatine.

When the raspberry preparation reaches 40°C...

...add the hydrated gelatine (previously melted in the microwave). Mix vigorously with a spatula until the gelatine is fully incorporated.

Transfer this preparation to a bowl...

...and add the freshly blended raspberry purée.

Mix these two purées together thoroughly.

Pour the raspberry jelly into a piping bag (no nozzle).

Place the entremets on a dessert platter.

Snip the tip of the piping bag to make a small hole to control the flow of the raspberry jelly. Pipe it into the top cavity of each entremets.

Using a wooden skewer, spread the raspberry jelly up to the rim to obtain a perfect glaze.

This is what the result should look like.

Cut fresh raspberries in half and place one raspberry half on the surface of each entremets, rounded side down.

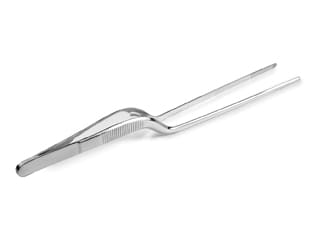
Finish the decoration by placing a touch of gold leaf with plating tweezers.

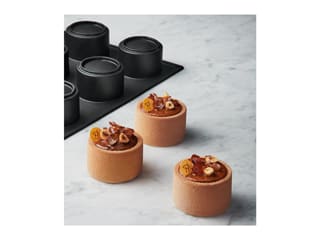
Our raspberry, vanilla, and chocolate individual entremets are now done. Leave to defrost in the fridge for 3 to 4 hours before serving. Bon appétit!
Please login to post a review


The number of steps is a bit intimidating at first, but it turned out that up until step 112 you can prepare everything well ahead of time. The intermediate comments that something can be prepared ahead of time relates to the process of assembling the entremets.
But after all these steps the result was absolutely fantastic and a great ending to our feast.
Thanks, Christian