


Cookies 🍪
By clicking "Accept", you authorize Meilleur du Chef to store cookies on your device to personalize site content, analyze our traffic, and provide social media functionality.
Favourites


In one click, store and find all your favourite recipes.
Add this recipe >
Soft almond sponge: To make this kombucha, green apple & smoked vanilla yule log recipe, start by preparing all the ingredients for the soft almond sponge.

Pour the whole eggs into the stand mixer bowl.

Add the caster sugar...

...and blanch this mixture using the whisk attachment...

...for 5 minutes at maximum speed, until it reaches the ribbon stage. The mixture should slightly increase in volume and become pale.

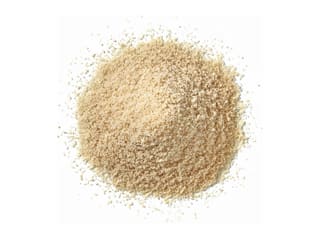
Add the almond powder...

...along with the flour and start mixing gently with a spatula.

Before the dry ingredients are fully combined, add the melted butter.

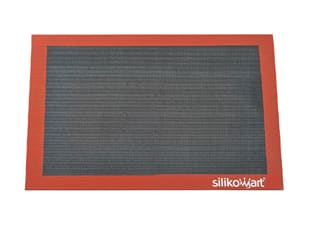
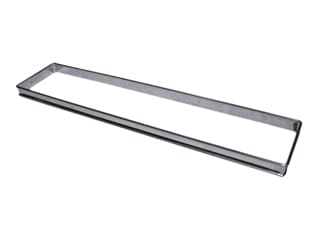
Place a rectangular tart frame 35 x 11cm on a perforated baking tray lined with a Silpat baking mat. Then grease the stainless steel frame with an oil spray. Pour the almond sponge batter into the frame and spread it evenly using a small offset spatula.

Place the tray in a fan-assisted oven preheated to 180°C and bake for 10 to 12 minutes (baking time may vary depending on the oven).

Once baked, remove the almond sponge from the oven.

You should obtain this result.

Run the blade of a knife between the sponge and the inside of the frame to loosen it.

Then remove the stainless-steel frame and leave the sponge to cool at room temperature.

Once the almond sponge has cooled, make a first lengthwise cut with a knife and ruler to trim the sponge and obtain a perfectly straight edge.

Then cut the sponge into a strip 5cm wide and 23cm long. This strip will serve as the base of the log. Any leftover sponge can be stored in the freezer for future use.

You should get this result.

Kombucha-lime gelified insert: Take a Granny Smith green apple...

...and peel it using a peeler.

Then cut the apple in half, remove the core, and dice each half into small cubes, as shown in the photo.

Melt the butter in a frying pan.

Add the small amount of caster sugar...

...and cook until the butter and sugar start to foam. Avoid caramelising, as the goal is to keep the apples white, not browned.

Add the apple pieces to the pan...

...along with half a lime juice (about 12g). Cook for 5 to 10 minutes without colouring. The apple pieces must remain whole.

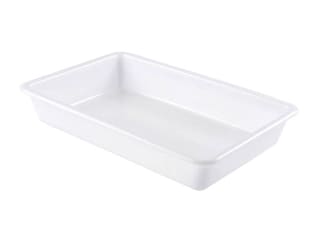
Once the apples are cooked, transfer them to a food container to cool.

Prepare the other ingredients for the kombucha-lime jellified insert.

Pour the ginger kombucha and freshly squeezed lime juice into a saucepan.

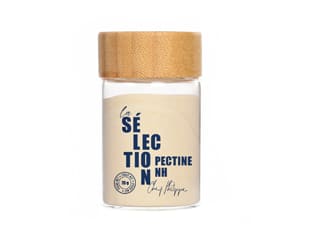
Mix the larger quantity of caster sugar with the NH coating pectin to prevent clumping.

When the liquid in the saucepan reaches about 50°C, add the sugar-pectin mix while whisking to prevent lumps.

Bring to a boil and maintain it for at least 1 minute to activate the pectin's gelling properties...

...continuing to whisk to prevent any lumps.

Take the apple green water-soluble powder colouring (note: this colouring is orange in its dry state but turns apple green when it comes into contact with liquid)...

...and add a knife tip of it to slightly colour the jellified insert. Only a very small amount is needed. Mix well with a whisk.

Pour this preparation into the food container, directly over the apple pieces.

Mix everything with a spatula so that the apple pieces are well coated and immersed.

Pour the kombucha-lime mixture into the cavities of a yule log insert mould, leaving a gap of about 0.5cm at the top. Fill the insert with as many apple pieces as possible. As shown, I placed a spatula in the second cavity as a counterweight to prevent the mould from tipping. Place in the freezer to set.

Green apple & kombucha crémeux: Prepare all the ingredients.

Mix the gelatine powder with the hydration water (tap or mineral water) and let it bloom for at least 15 minutes.

Pour the green apple purée and the ginger kombucha into a saucepan.

Whisk together and bring to a boil.

Place the egg yolk in a mixing bowl...

...add the caster sugar...

...and blanch this mixture with a whisk.

When the apple purée and kombucha begin to boil...

...pour them over the egg-sugar mixture while whisking continuously.

Then pour everything back into the saucepan...

...and cook 'à la nappe' (until it coats the back of a spoon), as you would a custard, without exceeding 82°C to avoid scrambling the eggs.

Add a pinch of apple green water-soluble colouring powder. As mentioned earlier, the colouring is orange but turns green upon contact with moisture.

Mix carefully with a spatula to fully incorporate the colouring.

Then add the bloomed gelatine and stir vigorously until completely dissolved.

Transfer the preparation to a measuring jug (or any tall narrow container)...

...and blend using a hand blender such as Bamix. Add the butter and blend again until the green apple & kombucha crémeux is smooth and homogeneous.

Pour the crémeux, which should be no warmer than 40°C, into the insert mould directly over the frozen kombucha-lime insert so the two layers do not mix.

Cover with cling film in contact and place in the freezer.

Smoked vanilla whipped ganache (make the day before): Prepare all ingredients. Bloom the gelatine powder in the hydration water for 15 minutes.

Split the vanilla pods in half and scrape out the seeds with the tip of a knife.

Pour the whipping cream into a saucepan. Add both the seeds and the split pods.

Place the saucepan on the hob and heat.

Bring to a boil, stirring with a whisk.

When it boils, add the bloomed gelatine and mix vigorously.

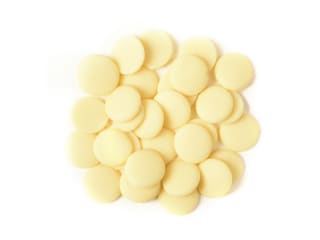
Pour the hot cream over the white chocolate pistoles and let them "sit" so they start melting in contact with the hot cream. Remove the vanilla pods and set them aside.

Blend the mixture with a hand blender until smooth and homogeneous.

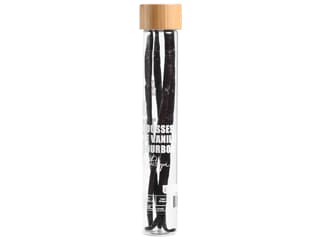
Add one whole smoked Tadoka bean (for the smoky flavour)...

...as well as the two split vanilla pods set aside earlier...

...and mix well with a whisk to completely dissolve the smoked Tadoka.

Cover with cling film in contact and refrigerate. This ganache must be made the day before to allow time for the flavours to develop.

The next day, remove the smoked vanilla ganache from the fridge and remove the cling film.

Transfer the preparation to the bowl of the mixer.

Remove the two vanilla pods.

Whip the ganache using the whisk attachment...

...until the smoked vanilla whipped ganache reaches the consistency of a firm whipped cream.

Transfer the ganache into a piping bag. No nozzle is needed for this step.

Remove the insert mould from the freezer and discard the cling film.

Measure the log mould. Here, I used the Slope silicone log mould which is 23cm long. Adjust the insert size to match your mould dimensions.

We will trim the insert, which is 32cm long, down to 22cm so that it fits into the mould. Start by cutting off one end...

...then cut the other end, measuring precisely with the graduated ruler.

We now have our insert, made up of the kombucha-lime jelly on the rounded side and the green apple & kombucha crémeux on the flat side.

Take the piping bag and cut off the tip with a pair of scissors. Pipe the smoked vanilla whipped ganache into the silicone mould, making sure to fill the cavities evenly to minimise air bubbles.

Use a small offset spatula to push the preparation up along the sides of the mould.

Hold the mould with both hands and gently tap it on the work surface to compact the ganache at the bottom and release any trapped air bubbles.

Place the insert into the log mould, rounded side down, directly against the smoked vanilla whipped ganache, and flat side facing up. Press it down gently with your fingertips to bury it evenly in the ganache, ensuring it is centred and level.

Cover the insert with the remaining smoked vanilla whipped ganache.

Then place the strip of soft almond sponge on top of the ganache...

...making sure it is perfectly level with the edge of the mould. The sponge should not protrude, as this would affect the final presentation of the log.

Smooth the edges with the small offset spatula so that the ganache is also flush with the mould...

...as shown in the photo.

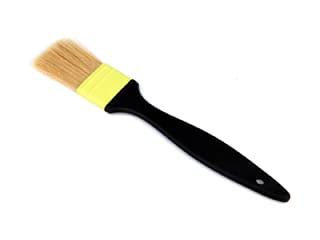
Prepare the kombucha soaking syrup by mixing the cane sugar syrup with the kombucha. Then steep the soft almond sponge using a pastry brush. Be generous with the syrup — the sponge should absorb all of it, but there must be no excess pooling on the surface. You now have a kombucha-soaked soft almond sponge.

Cover the silicone mould with cling film in direct contact...

...and place it in the freezer. The log can be prepared up to this stage several days or even weeks in advance.

Jelly spheres: Bloom the gelatine powder in the hydration water for at least 15 minutes. Then heat the ginger kombucha in a saucepan.

Add the cane sugar syrup.

When the mixture reaches about 50°C (no need to boil it to avoid altering the kombucha)...

...add the bloomed gelatine...

...and mix gently with a maryse spatula until the gelatine is completely dissolved in the warm preparation.

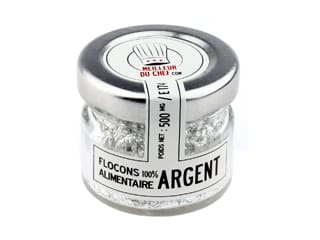
Add the silver flakes. The quantity will depend on the desired effect but make sure to add enough for a visible shimmer. Mix with the spatula.

Take the apple green water-soluble powder colouring...

...and add a knife tip of it to the saucepan. Proceed sparingly, adding a little at a time — it's easier to adjust the colour gradually than to over-colour from the start.

Mix again until the colouring is fully dissolved.

The jelly sphere mixture is now ready.

Pour this preparation into a piston funnel and fill the cavities of the Pavoflex sphere mould Ø 1.5cm. I also made larger spheres using the Pavoflex sphere mould Ø 2cm, but that's optional.

Smooth the surface of the mould with a large offset spatula to remove any excess preparation overflowing from the cavities.

You should obtain this result. Place in the freezer.

Velvet coating: Once the log is completely frozen, remove it from the freezer and take off the cling film.

Loosen the sides of the silicone mould by gently pulling on the triangular parts.

Flip the mould upside down onto a baking tray and peel it back to release the log. It's crucial that the log is fully frozen through for a clean, flawless unmoulding.

Place the still-frozen log on a baking tray lined with cling film, and set it on a rotating cake stand to make the velvet coating easier to apply.

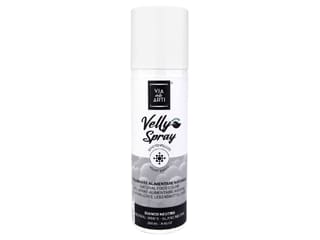
Shake the white velvet-effect spray thoroughly before use until the ball inside rattles (indicating the mixture is uniform and ready). Spray from a distance of 30-40cm, rotating the stand to cover all sides of the log...

...until it is fully coated. Aim for a thin but even layer — thick enough for good coverage but light enough to avoid cracking, resulting in a beautiful velvety pearl finish.

Here is the velvet-coated log. Keep refrigerated until final assembly.

Almond shortbread: Prepare all ingredients. Don't rely on the quantities shown in the photo — I made a larger batch that day.

Pour the egg yolks and caster sugar into the bowl of the mixer...

...and beat at high speed with the whisk attachment for 3 minutes.

The mixture should become pale and slightly increase in volume.

Add the softened butter...

...the almond powder...

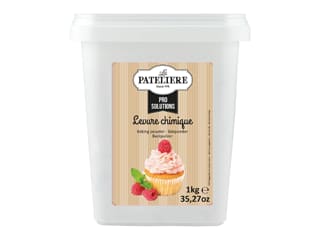
...along with the baking powder and fleur de sel.

Sift the flour directly into the bowl using a fine sieve...

...like this.

Finish mixing using the flat beater attachment...

...until a homogeneous dough forms. The butter must be fully incorporated before stopping the mixer.

Transfer the almond shortbread dough onto the work surface lined with a sheet of parchment paper...

...cover it with another sheet of parchment paper and flatten it slightly with your hand.

Roll out the dough with a rolling pin to a uniform thickness of 0.5 cm.

You can use rolling guides to ensure an even thickness.

Check with a ruler that the rolled dough matches the dimensions of the log mould used. The measurements here correspond to the Slope mould.

If the dough dimensions are correct, remove the top sheet of parchment paper...

...and slide the whole piece onto a baking tray. Place in the freezer for 10-20 minutes until firm.

Once the almond shortbread dough is firm, remove it from the freezer and trim it to the dimensions of the mould — 24cm long...

...by 8 cm wide. Any dough trimmings can be stored for another dessert or frozen for later use.

You now have the almond shortbread base for the log. If the dough has softened too much, refrigerate or freeze it again for 10-20 minutes to firm up.

Transfer this almond shortbread strip onto a baking tray lined with a Silpain baking mat, a perforated silicone mat.

Place a second Silpain baking mat gently on top, without pressing — this technique prevents the dough from spreading during baking.

Bake in a fan-assisted oven preheated to 170°C for about 15 minutes (time may vary depending on the oven).

When baked, remove the tray from the oven...

...and allow the almond shortbread to cool slightly at room temperature before removing the top silicone mat — removing it too soon could tear the biscuit.

After 5 minutes, gently peel off the mat, starting from one side and pulling it back slowly and steadily.

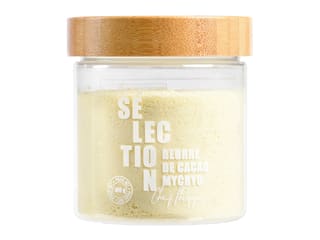
Dust the still-warm shortbread with Mycryo cocoa butter...

...so that the Mycryo melts on contact. This step waterproofs the biscuit, preventing it from becoming soggy.

Let the almond shortbread cool completely at room temperature before using.

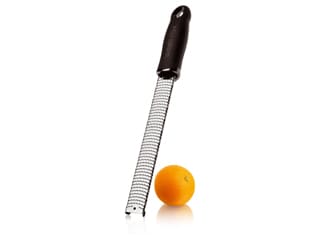
Once cooled, trim the edges with a Microplane Classic zester-grater to get a perfectly rectangular log base. Be careful not to break it — the biscuit is fragile. Set aside.

Remove the sphere mould from the freezer...

...and gently release the jelly spheres by pressing lightly underneath each cavity. They must be completely frozen for successful unmoulding.

Here are the jelly pearls — they appear opaque while frozen but will become translucent as they defrost, revealing the silver flakes inside. Let them defrost in the fridge to prevent them from softening or melting.

Finish: Take the log out of the fridge and lift it with two offset spatulas...

...then place it on the almond shortbread base, centring it carefully.

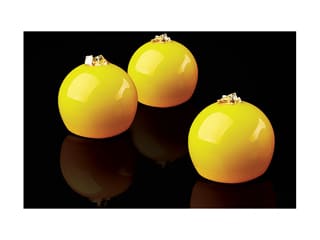
Take the clear jelly spheres and arrange them along the ridge of the log. These spheres have a small flat base from the mould, which gives them stability.

Here is our kombucha, green apple & smoked vanilla log, decorated with jelly spheres in two sizes — though you can choose to make only one size if you prefer. Keep refrigerated until serving. Allow 3 to 4 hours for full defrosting before tasting. Enjoy!
Please login to post a review