




Cookies 🍪
By clicking "Accept", you authorize Meilleur du Chef to store cookies on your device to personalize site content, analyze our traffic, and provide social media functionality.


Favourites


In one click, store and find all your favourite recipes.
Add this recipe >
Dark chocolate shells: To make this trompe l'œil vanilla pod recipe, start by melting the large quantity of dark chocolate in the microwave, in 20 to 30 second intervals, stirring every time so that it does not burn.

While melting, add the Tadoka vanilla.

Continue melting the chocolate and vanilla, without exceeding 51°C. Then add the fleur de sel and mix.

Using a chef's knife, finely chop the small quantity of dark chocolate on a cutting board.

Add this chopped chocolate to the melted chocolate...

...and stir until it melts upon contact with the warm mass.

Stir to lower the temperature of the melted chocolate, which reaches 37.4°C here.

You can use a hand blender to thoroughly homogenize the mixture.

Gradually, the temperature of the chocolate drops.

Continue stirring the melted chocolate...

...until it reaches 31 to 32°C (the ideal working temperature for tempered dark chocolate).

Transfer this tempered dark chocolate into a piping bag. Using a nozzle is not necessary.

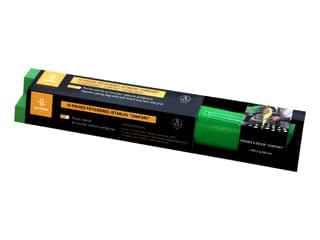
Take the vanilla pod silicone mould and place it on a baking sheet.

Snip the tip of the piping bag to make a small opening, so you can control the flow of the preparation, and pipe the tempered chocolate into the cavities.

All the cavities should be filled completely.

Tap the sheet on the work surface so that the chocolate levels out nicely, then turn the silicone mould upside down over a deep tray...

...handling it gently so that the excess chocolate drains away completely.

Place the mould on a cooling rack placed over a deep tray to catch the excess chocolate. Leave to set partially.

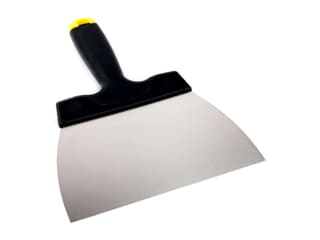
When the chocolate begins to set (it becomes opaque, thicker, and dry to the touch) and the draining has finished, scrape the surface of the mould using a chocolate spatula.

Leave to crystallize completely at room temperature, preferably in a cool room (18/19°C). It must harden completely. Keep the rest of the tempered dark chocolate in an oven preheated to 30°C (to avoid having to temper the chocolate again if the temperature drops).

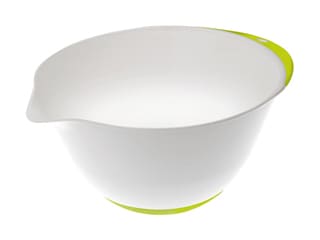
Vanilla praline insert: Take the crunchy texture vanilla praline, pour it into a mixing bowl...

...and mix it well to incorporate the fat from the almonds into the preparation. When praline sits in a jar for a long time without stirring, the oil separates and rises to the surface.

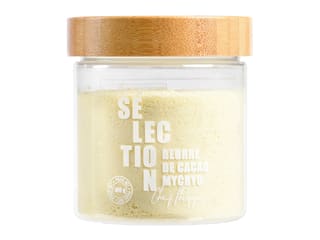
Melt the Mycryo cocoa butter (or cocoa butter drops) in a small saucepan over low heat.

Add this melted cocoa butter to the vanilla praline...

...and stir thoroughly until you get a smooth and homogeneous texture. The purpose of the cocoa butter is to slightly firm up the vanilla praline.

Transfer this mixture into a piping bag (without a nozzle)...

...and pipe it into the silicone mould, directly inside the chocolate shells.

Be careful not to put too much; you just need to line the bottom with a little praline.

Using a wooden skewer, pull the praline toward the ends of the chocolate shells so that it spreads along the length, as shown here in the photo. Place in the fridge.

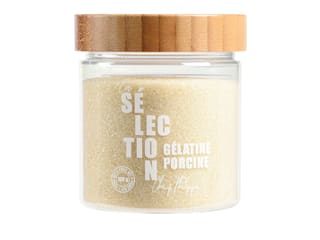
Ultra-intense vanilla mousse: Prepare all the ingredients. Mix the powdered gelatine with the hydration water (tap water or mineral water) and leave it to hydrate for 15 minutes.

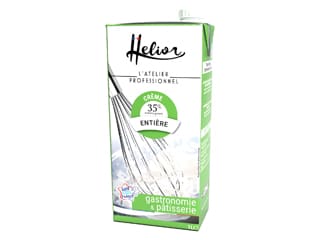
Pour the whipping cream into a saucepan and add the Tadoka vanilla pod. Bring to a boil.

Meanwhile, place the egg yolks and caster sugar in a bowl...

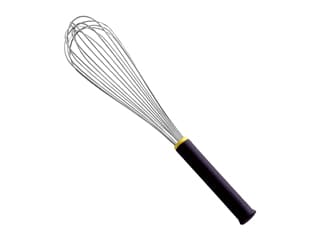
...and blanch using a whisk.

When the cream is hot and the Tadoka vanilla has melted, pour this boiling mixture over the pale egg yolks and sugar, while whisking continuously.

Then pour everything back into the cream's cooking saucepan...

...and cook 'à la nappe' (until it coats the back of a spoon), like a crème anglaise, without exceeding 82°C. Using a probe thermometer is recommended if you are a beginner in pastry making.

The mixture should coat the spatula, like this shown here in the photo.

Once the cream is cooked, transfer it to a mixing bowl and add the hydrated gelatine.

Blend this cream with a hand blender until smooth and homogeneous.

Whip the cream into whipped cream.

We want a texture with soft peaks.

Once the vanilla preparation has cooled to about 30°C, add half of the whipped cream...

...and combine with a whisk.

Then add the remaining whipped cream...

...and gently fold with a spatula until smooth and homogeneous. The mousse should be very soft and runny, which is why the cream should only be lightly whipped.

Transfer this mousse into a piping bag (without a nozzle)...

...and pipe it into the cavities of the silicone mould, directly over the set praline. Leave a 1mm gap on top to seal the vanilla pods with the remaining tempered dark chocolate.

Spread the vanilla preparation toward the tips of the pods using a wooden skewer, just as we did previously. Leave to set in the fridge.

Sealing the vanilla pods: Once the vanilla mousse has set, fill the mould cavities with the remaining tempered dark chocolate...

...and smooth the surface you go with the chocolate spatula. You can seal the cavities 3 by 3, as the chocolate risks setting quickly.

Place in the freezer.

Finish: Remove the silicone mould from the freezer and release the vanilla pods, which must be frozen to the core for optimal results without snapping the tips.

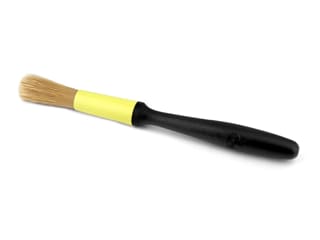
Place the vanilla pod right-side up on the work surface covered with a sheet of greaseproof paper (flat side down). Run a pastry brush over the surface of the pod to remove any chocolate crumbs. This operation is delicate!

Trim the sides of the vanilla pod using the tip of a knife...

...working gently to avoid damaging the pod and to achieve a clean finish.

Do this all around the vanilla pod.

Release the other vanilla pods...

...and trim them as well using the tip of the knife.

This is what the result should look like.

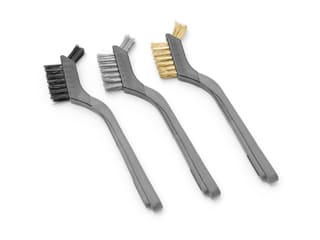
Take a narrow wire brush and gently rub a vanilla pod to score it, without breaking it since the shell is thin.

You should use the widest part of the brush and score the pod entirely, from end to end.

Lay the vanilla pod flat and warm it slightly using a heat gun or hairdryer so that the surface melts very slightly (it should shine again).

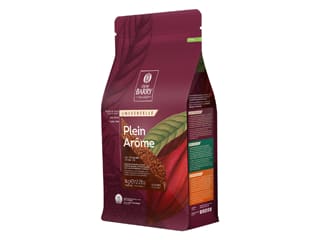
Dust the cocoa powder over the vanilla pod.

Leave the chocolate to set in the fridge.

Once the chocolate has set, brush away the excess cocoa powder with the pastry brush...

...then score the vanilla pod again with the small wire brush.

Remove any remaining excess cocoa powder or chocolate crumbs, again using the pastry brush.

The trompe-l'œil vanilla pods are now done. Proceed in the same way for all the vanilla pods. They will keep for only a few days in the fridge. Enjoy!

Please login to post a review