


Cookies 🍪
By clicking "Accept", you authorize Meilleur du Chef to store cookies on your device to personalize site content, analyze our traffic, and provide social media functionality.
Favourites


In one click, store and find all your favourite recipes.
Add this recipe >
To make this raspberry & pistachio yule log recipe, start by preparing the ingredients for the sponge cake.

Sponge cake: Set up a bain-marie by heating a little water in a saucepan.

Place the stand mixer bowl on top of this saucepan.

Crack the eggs into the bowl.

Add the caster sugar...

...and beat vigorously with a whisk until the mixture reaches between 50 and 60°C maximum. The use of a laser thermometer is recommended at this stage.

The mixture here shows 54.8°C...

...remove the bowl from the bain-marie and place it on the mixer base.

Whisk at high speed until completely cooled.

The mixture will lighten in colour and double in volume, as shown in the photo.

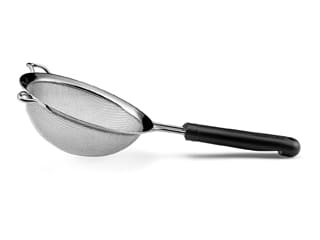
When the mixture has completely cooled (room temperature), place a fine sieve over the bowl...

...and pour the flour into it.

Sift the flour over the mixture...

...and gently fold with a maryse spatula until the mixture is smooth and homogeneous.

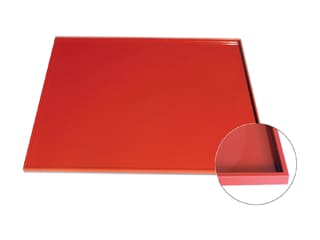
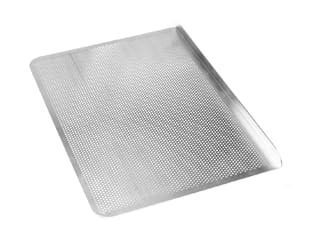
Transfer the sponge batter obtained onto the smooth silicone mat with edges previously greased with a release spray, and placed on a perforated baking tray.

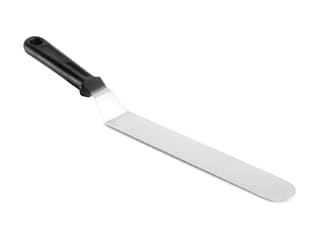
Spread the batter with a angled metal spatula evenly over the entire surface of the mat, as shown.

Bake the tray in a fan-assisted oven preheated to 180°C, and cook for about 12 minutes, noting that baking time may vary depending on your oven.

At the end of baking, the sponge should be golden brown...

...remove it from the oven and let it cool at room temperature.

When the sponge is cold, place a sheet of parchment paper on top...

...turn everything upside down...

...and gently remove the silicone mat. Unmoulding must be done once the sponge is completely cool.

Raspberry mousse: Prepare all ingredients. Mix the powdered gelatin with the hydration water (tap or mineral water) and let hydrate for 15 minutes.

Pour the raspberry purée into a saucepan.

Add the caster sugar and heat while whisking.

The mixture must not exceed 60°C to preserve the raspberry flavour.

Take the hydrated gelatin and melt it in the microwave.

Add this melted gelatin to the raspberry purée and mix vigorously to incorporate well.

Transfer the raspberry mixture into a food container...

...to cool. The temperature should drop to 30/35°C.

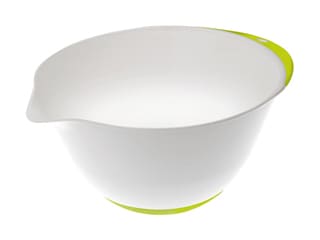
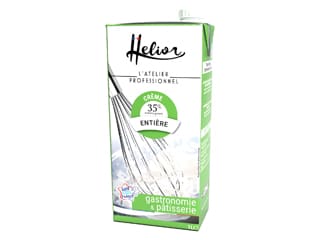
Pour the very cold whipping cream into the mixer bowl...

...and whip it into a soft whipped cream.

Once the raspberry purée reaches 30/35°C maximum, transfer it into a mixing bowl.

Add half of the whipped cream...

...and mix with a whisk.

Add the second half of the whipped cream...

...and gently fold with the maryse spatula until a smooth and homogeneous raspberry mousse is obtained.

Take the cooled sponge and cut it into even strips 4 cm wide using a knife and a ruler.

One strip should be 20 cm long and 4 cm wide...

...and the second strip should be 24 cm long and 4 cm wide.

Cut one end of the longer strip at an angle to match the shape of the mould, as shown in the photo.

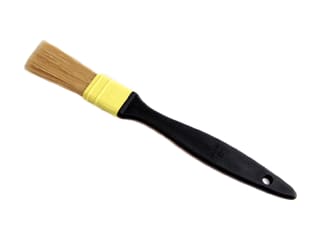
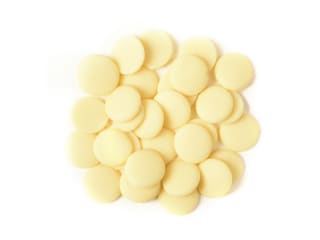
Melt a little white chocolate in the microwave in 20 to 30-second intervals, stirring every time to prevent burning. Using a pastry brush, apply the melted chocolate to the longer sponge strip to seal it. Allow to crystallize at room temperature, preferably in a cool room.

Dubai-style pistachio preparation: Prepare all ingredients.

Place the white chocolate pistoles in a mixing bowl and melt them in the microwave in 20 to 30-second intervals, stirring every time, as done earlier.

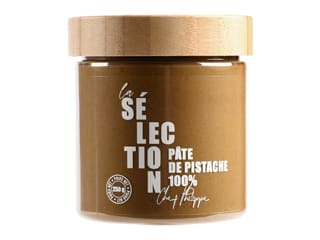
Add the pure pistachio paste...

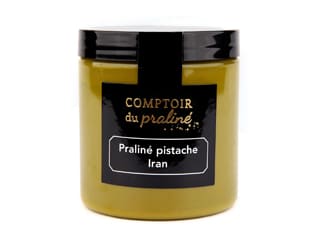
...as well as the pistachio praline...

...and mix everything thoroughly together.

Add the toasted kadaïf...

...and mix until all the kadaïf is fully coated with the pistachio mixture.

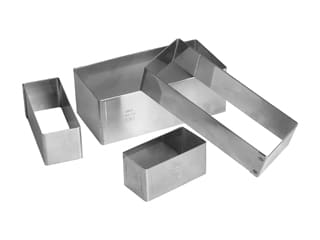
Place two stainless steel rectangles 12.5 x 4 x 3 cm on a baking tray lined with parchment paper.

Pour the Dubai-style pistachio mixture into these two rectangles to a uniform thickness of 1 cm.

Press down the mixture with a small spoon...

...then unmould these Dubai-style pistachio inserts and place them in the freezer.

Assembly: While the insert is cooling, take the train yule log silicone mould.

Pipe the raspberry mousse into the bottom of the mould, filling it up to one-third of its height.

Insert fresh raspberries directly into the mousse...

...pressing them into the mixture with a small angled spatula.

Place the first sponge strip (the smaller one) in the centre of the mould.

Prepare the soaking syrup by mixing cane sugar syrup with kirsch. Using the pastry brush, soak the sponge with the kirsch-flavoured syrup. Be generous to ensure a moist sponge when tasting, but not excessively— the sponge should absorb the liquid without leaving it on the surface.

This is what the result should look like.

Pipe more raspberry mousse, filling the mould up to three-quarters.

Insert more fresh raspberries into the mousse...

...pressing them in as before with the small angled spatula.

Measure the top of the yule log, which is about 22.5 cm long.

Remove the inserts from the freezer. Place the two Dubai-style pistachio rectangles end to end and trim them to 22 cm in total length.

Place the two Dubai-style pistachio rectangles into the silicone mould, pressing them gently into the raspberry mousse with your fingertips. Ensure the insert does not touch the sides of the mould; it must be centred along both length and width.

Pipe the remaining raspberry mousse over the Dubai insert...

...and smooth the surface with the small angled spatula.

Take the coated sponge...

...and turn it over so that the white chocolate-coated side is down and the sponge side is up.

Soak the sponge with the kirsch-flavoured syrup.

Gently turn the sponge over and place it in the silicone mould, sponge side directly in contact with the raspberry mousse and coated side on top. Press the sponge gently into the mousse until level with the top of the mould.

Smooth the edges with the angled spatula and cover the surface with plastic wrap in contact. Place in the freezer. The recipe can be prepared up to this stage several days or even weeks in advance.

Finish: On the day, remove the silicone mould from the freezer and take off the plastic wrap.

Peel back the silicone mould to unmould the yule log. It must be completely frozen for perfect unmoulding.

Place the yule log on a baking tray covered with plastic wrap and set it on a turning tray.

Shake the red velvet-effect spray colouring before use until the ball inside rattles (indicating the colour is well mixed and ready), and spray it onto the yule log from a distance of 30/40 cm.

While spraying, rotate the tray at the same time...

...so all sides of the yule log are covered with a light, even coat of colouring, avoiding a thick or rough texture.

Here is the train yule log with its velvet finish.

I wanted to enhance the appearance of this yule log by giving it a metallic effect. To do so, spray it with red metallic-effect colouring.

Here is our raspberry & pistachio yule log. Place it on the serving dish and let it defrost in the fridge for 4 to 5 hours before serving to your guests. Enjoy!
Please login to post a review