


Cookies 🍪
By clicking "Accept", you authorize Meilleur du Chef to store cookies on your device to personalize site content, analyze our traffic, and provide social media functionality.
Favourites


In one click, store and find all your favourite recipes.
Add this recipe >
To make this raspberry popsicle recipe, start by taking the raspberry sorbet mix.

Sorbet: Pour the raspberry sorbet mix into the ice cream maker. Make sure to follow the markings on the bowl to avoid overfilling.

Close the machine with the lid and turn it on...

...until the sorbet is fully churned. This will take 45 to 50 minutes.

Transfer the raspberry sorbet into a food-grade container, making sure to scrape the paddle well. Place in the freezer.

Place the Malibu silicone popsicle mould on a baking tray.

Transfer the sorbet into a piping bag, and pipe the raspberry sorbet into the cavities of the mould...

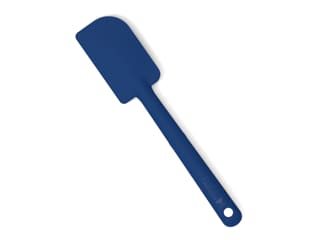
...then smooth the surface using a mini offset spatula.

Insert wooden popsicle sticks into the mould so they are well buried in the sorbet.

Cover with a sheet of cling film, directly onto the surface...

...and place in the freezer.

Once the popsicles are frozen, remove the mould from the freezer and take off the cling film.

Gently pull on the sides of the silicone mould and press lightly from underneath...

...to carefully release the popsicles.

Lay the popsicles flat on a baking tray lined with cling film.

When all the popsicles are released, cover them with another sheet of cling film, pressing it directly onto the surface, and return to the freezer.

Raspberry compote: Prepare all the ingredients.

Pour the raspberry purée into a saucepan and add 90% of the caster sugar.

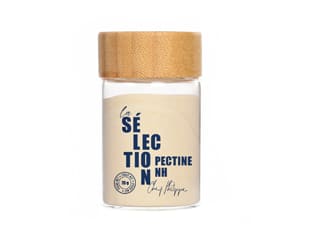
Mix the remaining caster sugar with the pectin NH coating to prevent lumps from forming. Set aside.

Heat the raspberry mixture until it reaches 50°C.

When the purée reaches 50°C, add the sugar and pectin mixture while whisking constantly.

Bring to a boil and maintain for 1 to 2 minutes to activate the pectin...

...while continuously whisking.

Once the raspberry mixture is cooked, transfer to a food-grade container...

...cover with cling film directly on the surface and chill until set.

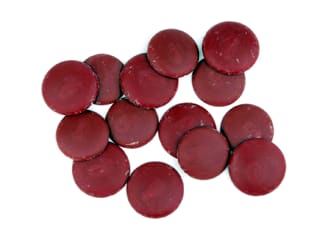
Red glaze: Melt the raspberry inspiration chocolate in the microwave in 20-30 second intervals, stirring every time. Then add the melted Mycryo cocoa butter to thin the glaze...

...and mix thoroughly with a silicone spatula until smooth and homogeneous.

Finishing: With a knife, finely chop the whole blanched pistachios...

...on a chopping board. They should be chopped finely, as shown in the photo.

Once the red glaze reaches 40-45°C, pour it into a tall, narrow container such as a measuring cup. Take the popsicles out of the freezer. Dip one popsicle vertically into the glaze, ensuring the base of the stick is coated up to about 0.5cm.

Then remove the popsicle and let the excess chocolate drip off, shaking gently to remove any excess.

Repeat for all popsicles, placing them on a baking tray lined with parchment paper (flat side down). Let the glaze set by returning the popsicles to the freezer.

Remove the raspberry compote from the fridge and transfer it to a bowl.

You'll notice it has set.

Quickly whisk the raspberry compote to loosen it and achieve a jam-like texture.

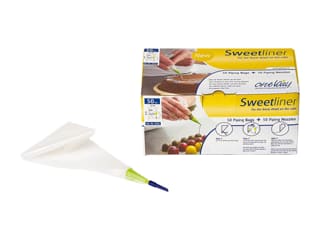
Transfer a tablespoon of raspberry compote into a decorating paper cone.

Pipe the raspberry compote evenly into the grooves of the popsicles...

...as shown in the photo.

Then sprinkle the chopped pistachios over the top and bottom lines of the raspberry compote.

This is what the result should look like.

Arrange the decorated popsicles on a serving tray.

The raspberry popsicles are now ready. Keep them in the freezer until ready to serve. Enjoy!
Please login to post a review